Trusted by Ottawa homeowners who deserve a yard they can enjoy
A Beautiful Yard Without the Heavy Lifting
Lawn care, landscape maintenance, and property cleanups. Done right, on time, every time. Serving Ottawa, Osgoode, Manotick, Greely, Nepean, and beyond. Call (613) 800-6895 for a free estimate.
From garden beds to new installations, we keep your whole property looking its best.
Crews That Show Up
On time, every time. No chasing, no guessing, no no-shows.
Clean Finish, Every Time
We don't leave until the job's done right and your property is spotless.
Sound Familiar?
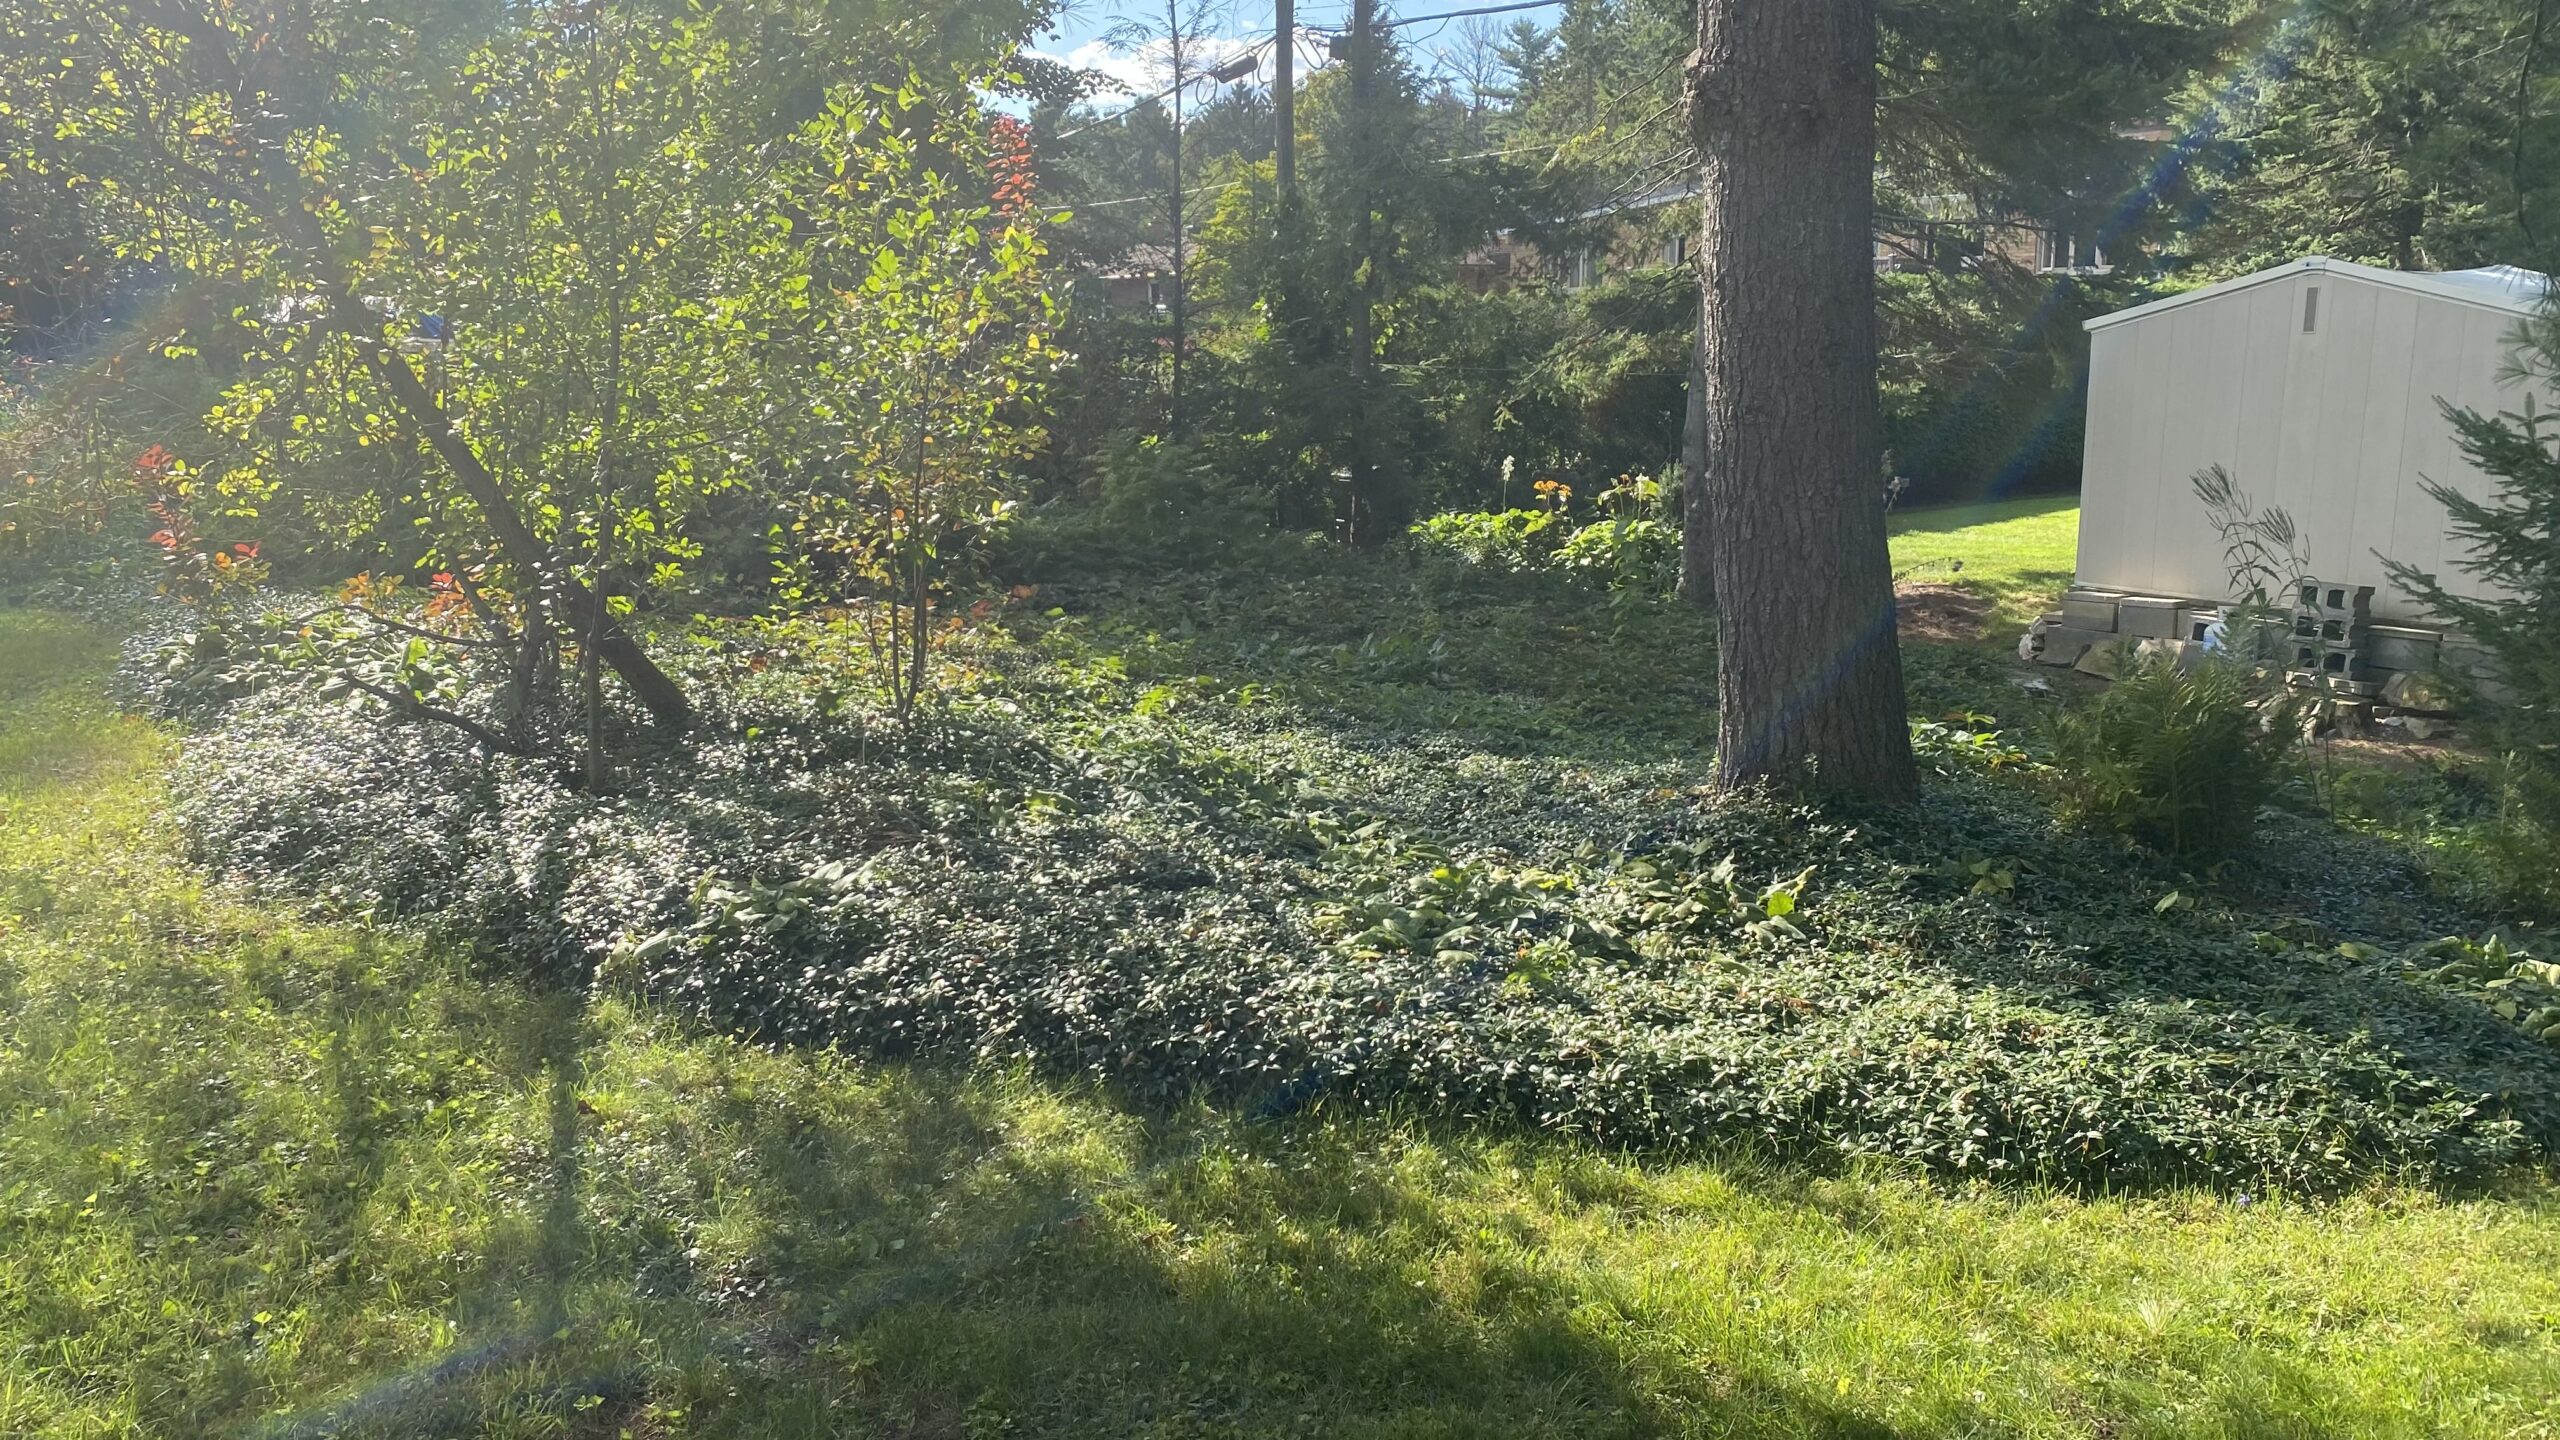
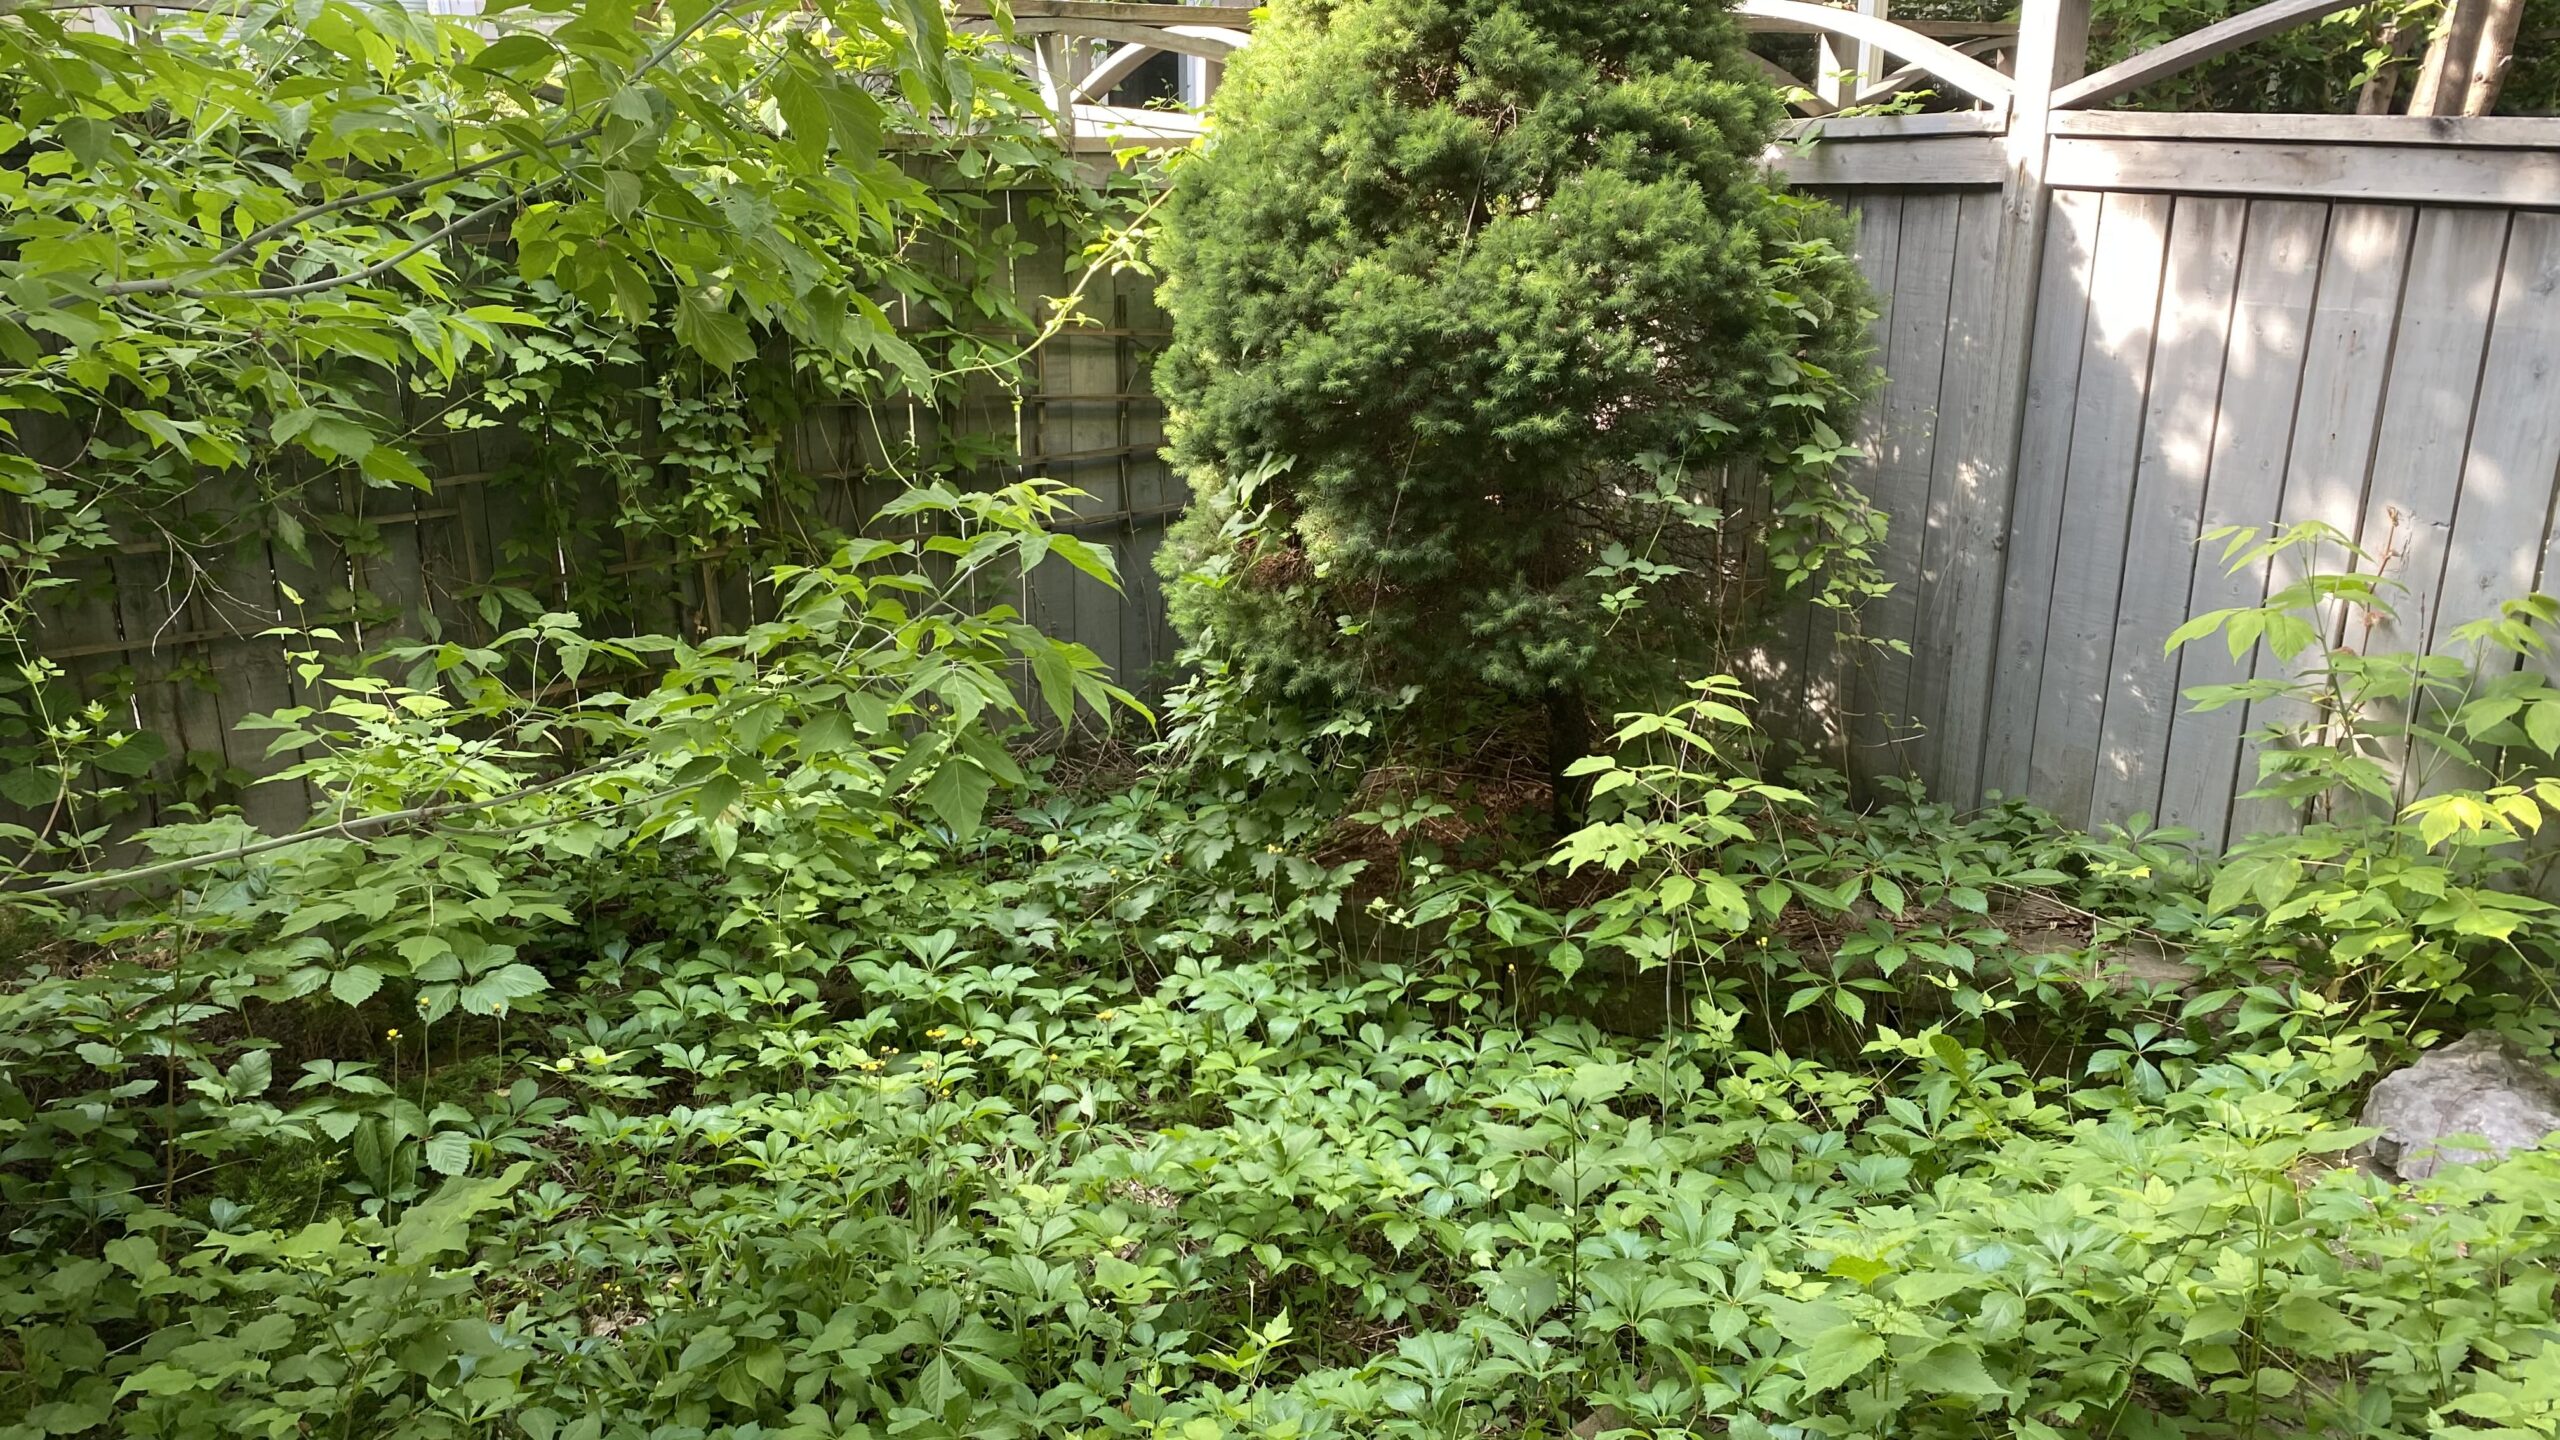
The yard's gotten ahead of you this season and it's hard to catch up.
Weeds are creeping into the garden beds faster than you can pull them.
It's getting harder to keep up physically, and you shouldn't have to.
You hired someone before and they stopped showing up.
You deserve a yard that looks great without the stress. That's exactly what we do.
Why Ottawa Homeowners Choose Us
A yard that looks great all season
Regular maintenance, seasonal garden care, and professional installations that keep your property looking its best from spring through fall.
No surprises, no runaround
Clear quotes before we start, consistent scheduling, and a crew that actually shows up when they say they will.
Your property, handled with care
We treat every home like it's our own. Hard surfaces blown clean, flower beds respected, and everything tidied before we leave.
Ottawa Landscaping Services
Our most popular services — from garden care and cleanups to lawn maintenance. Trusted by homeowners across Ottawa.
Most Popular Right Now
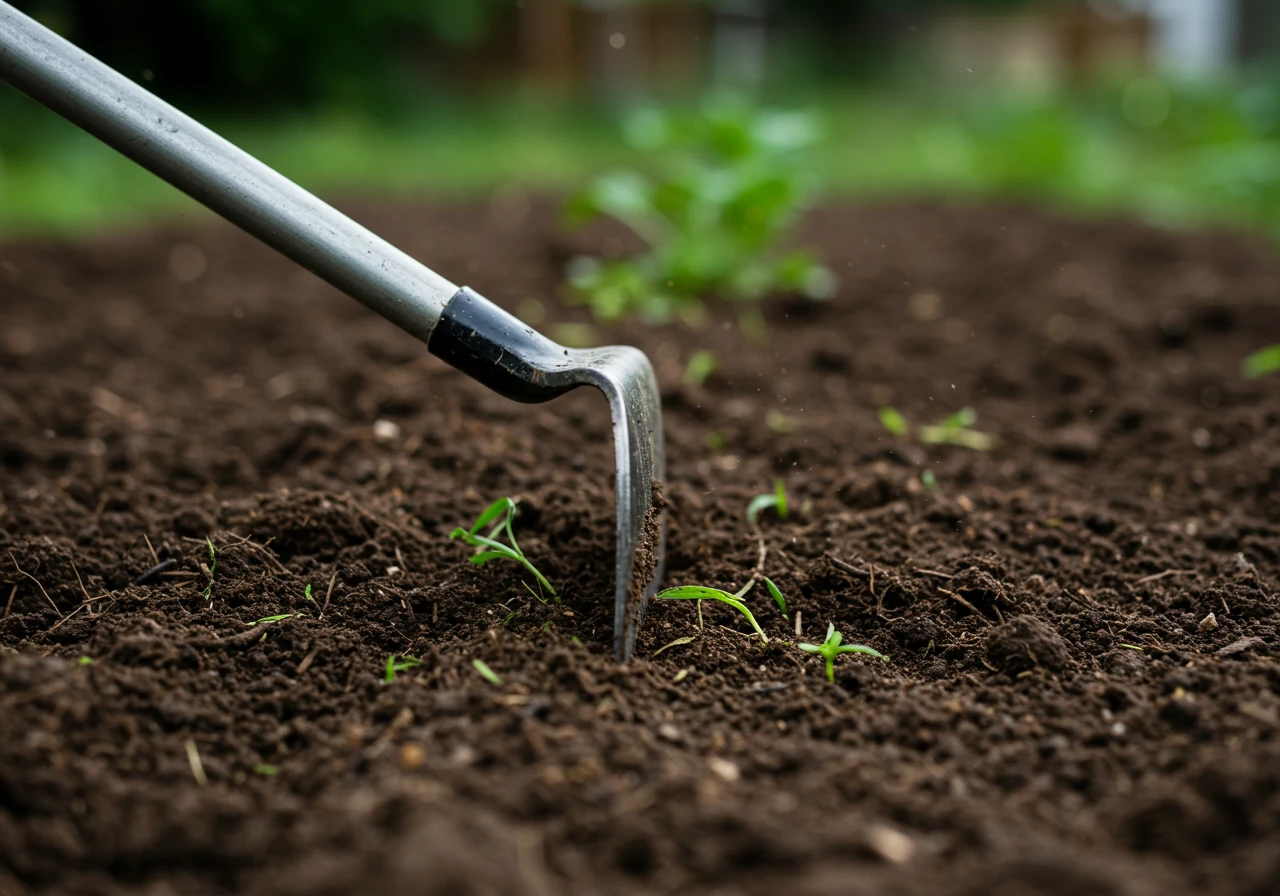
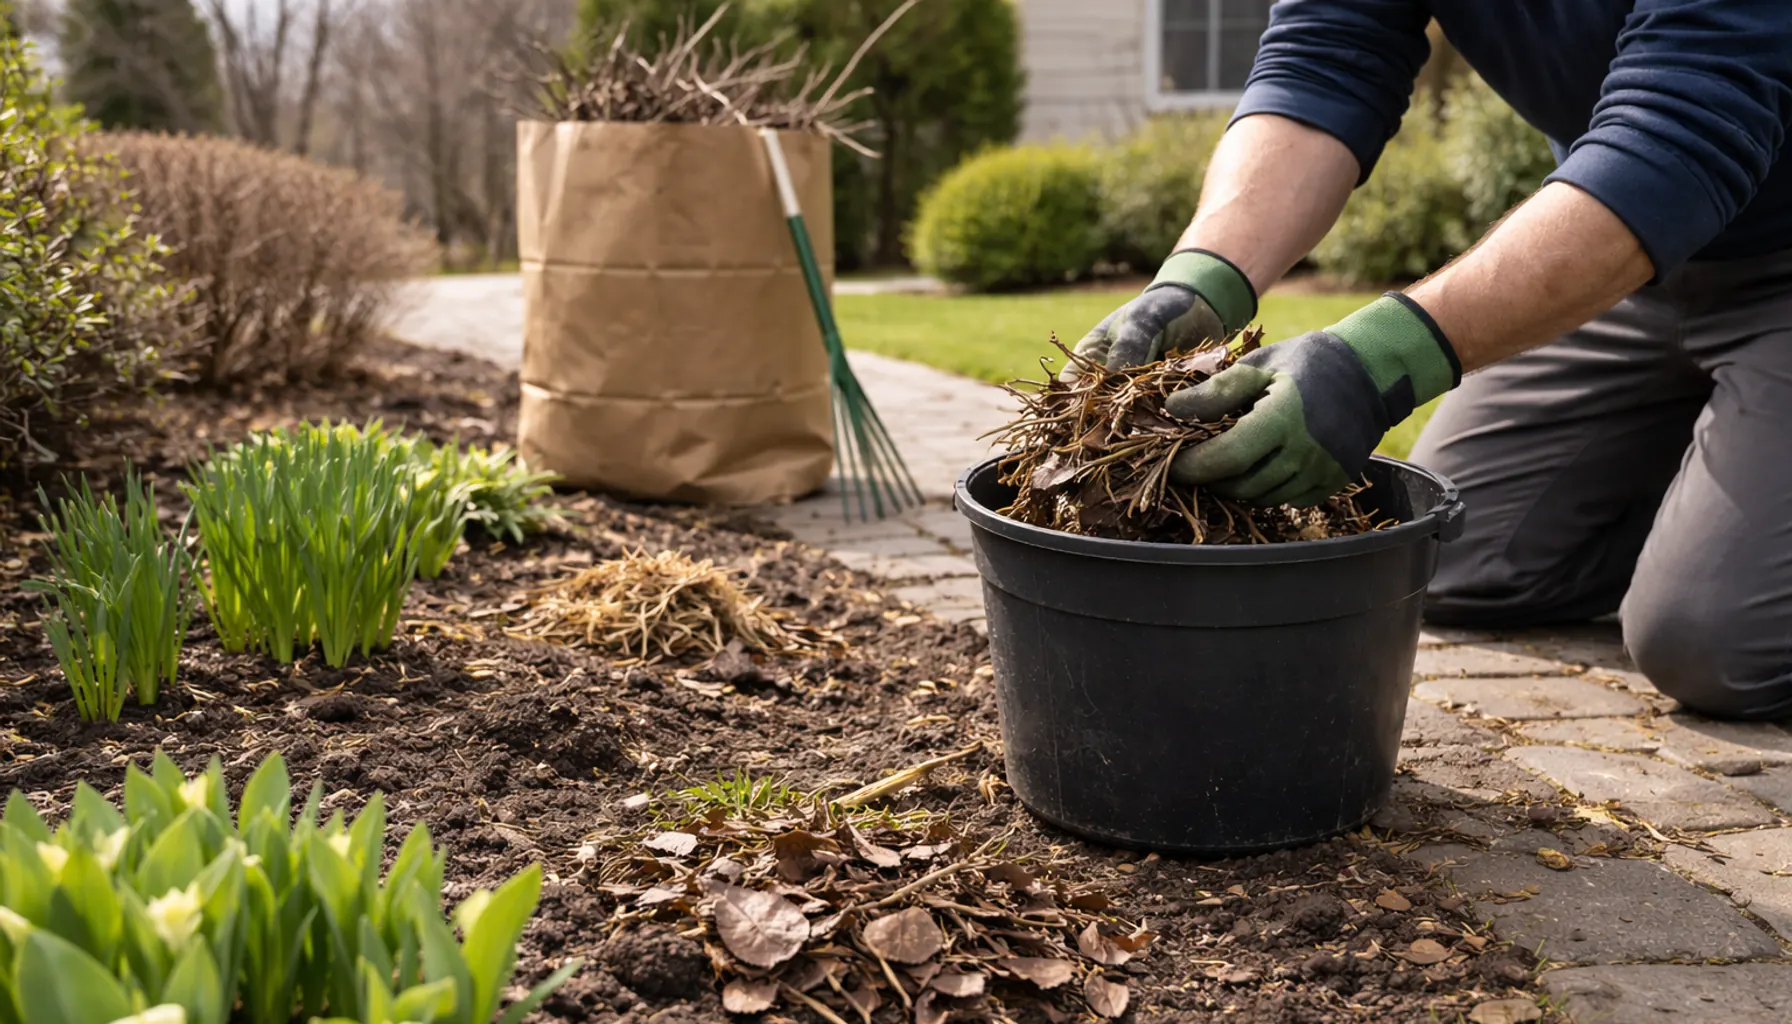
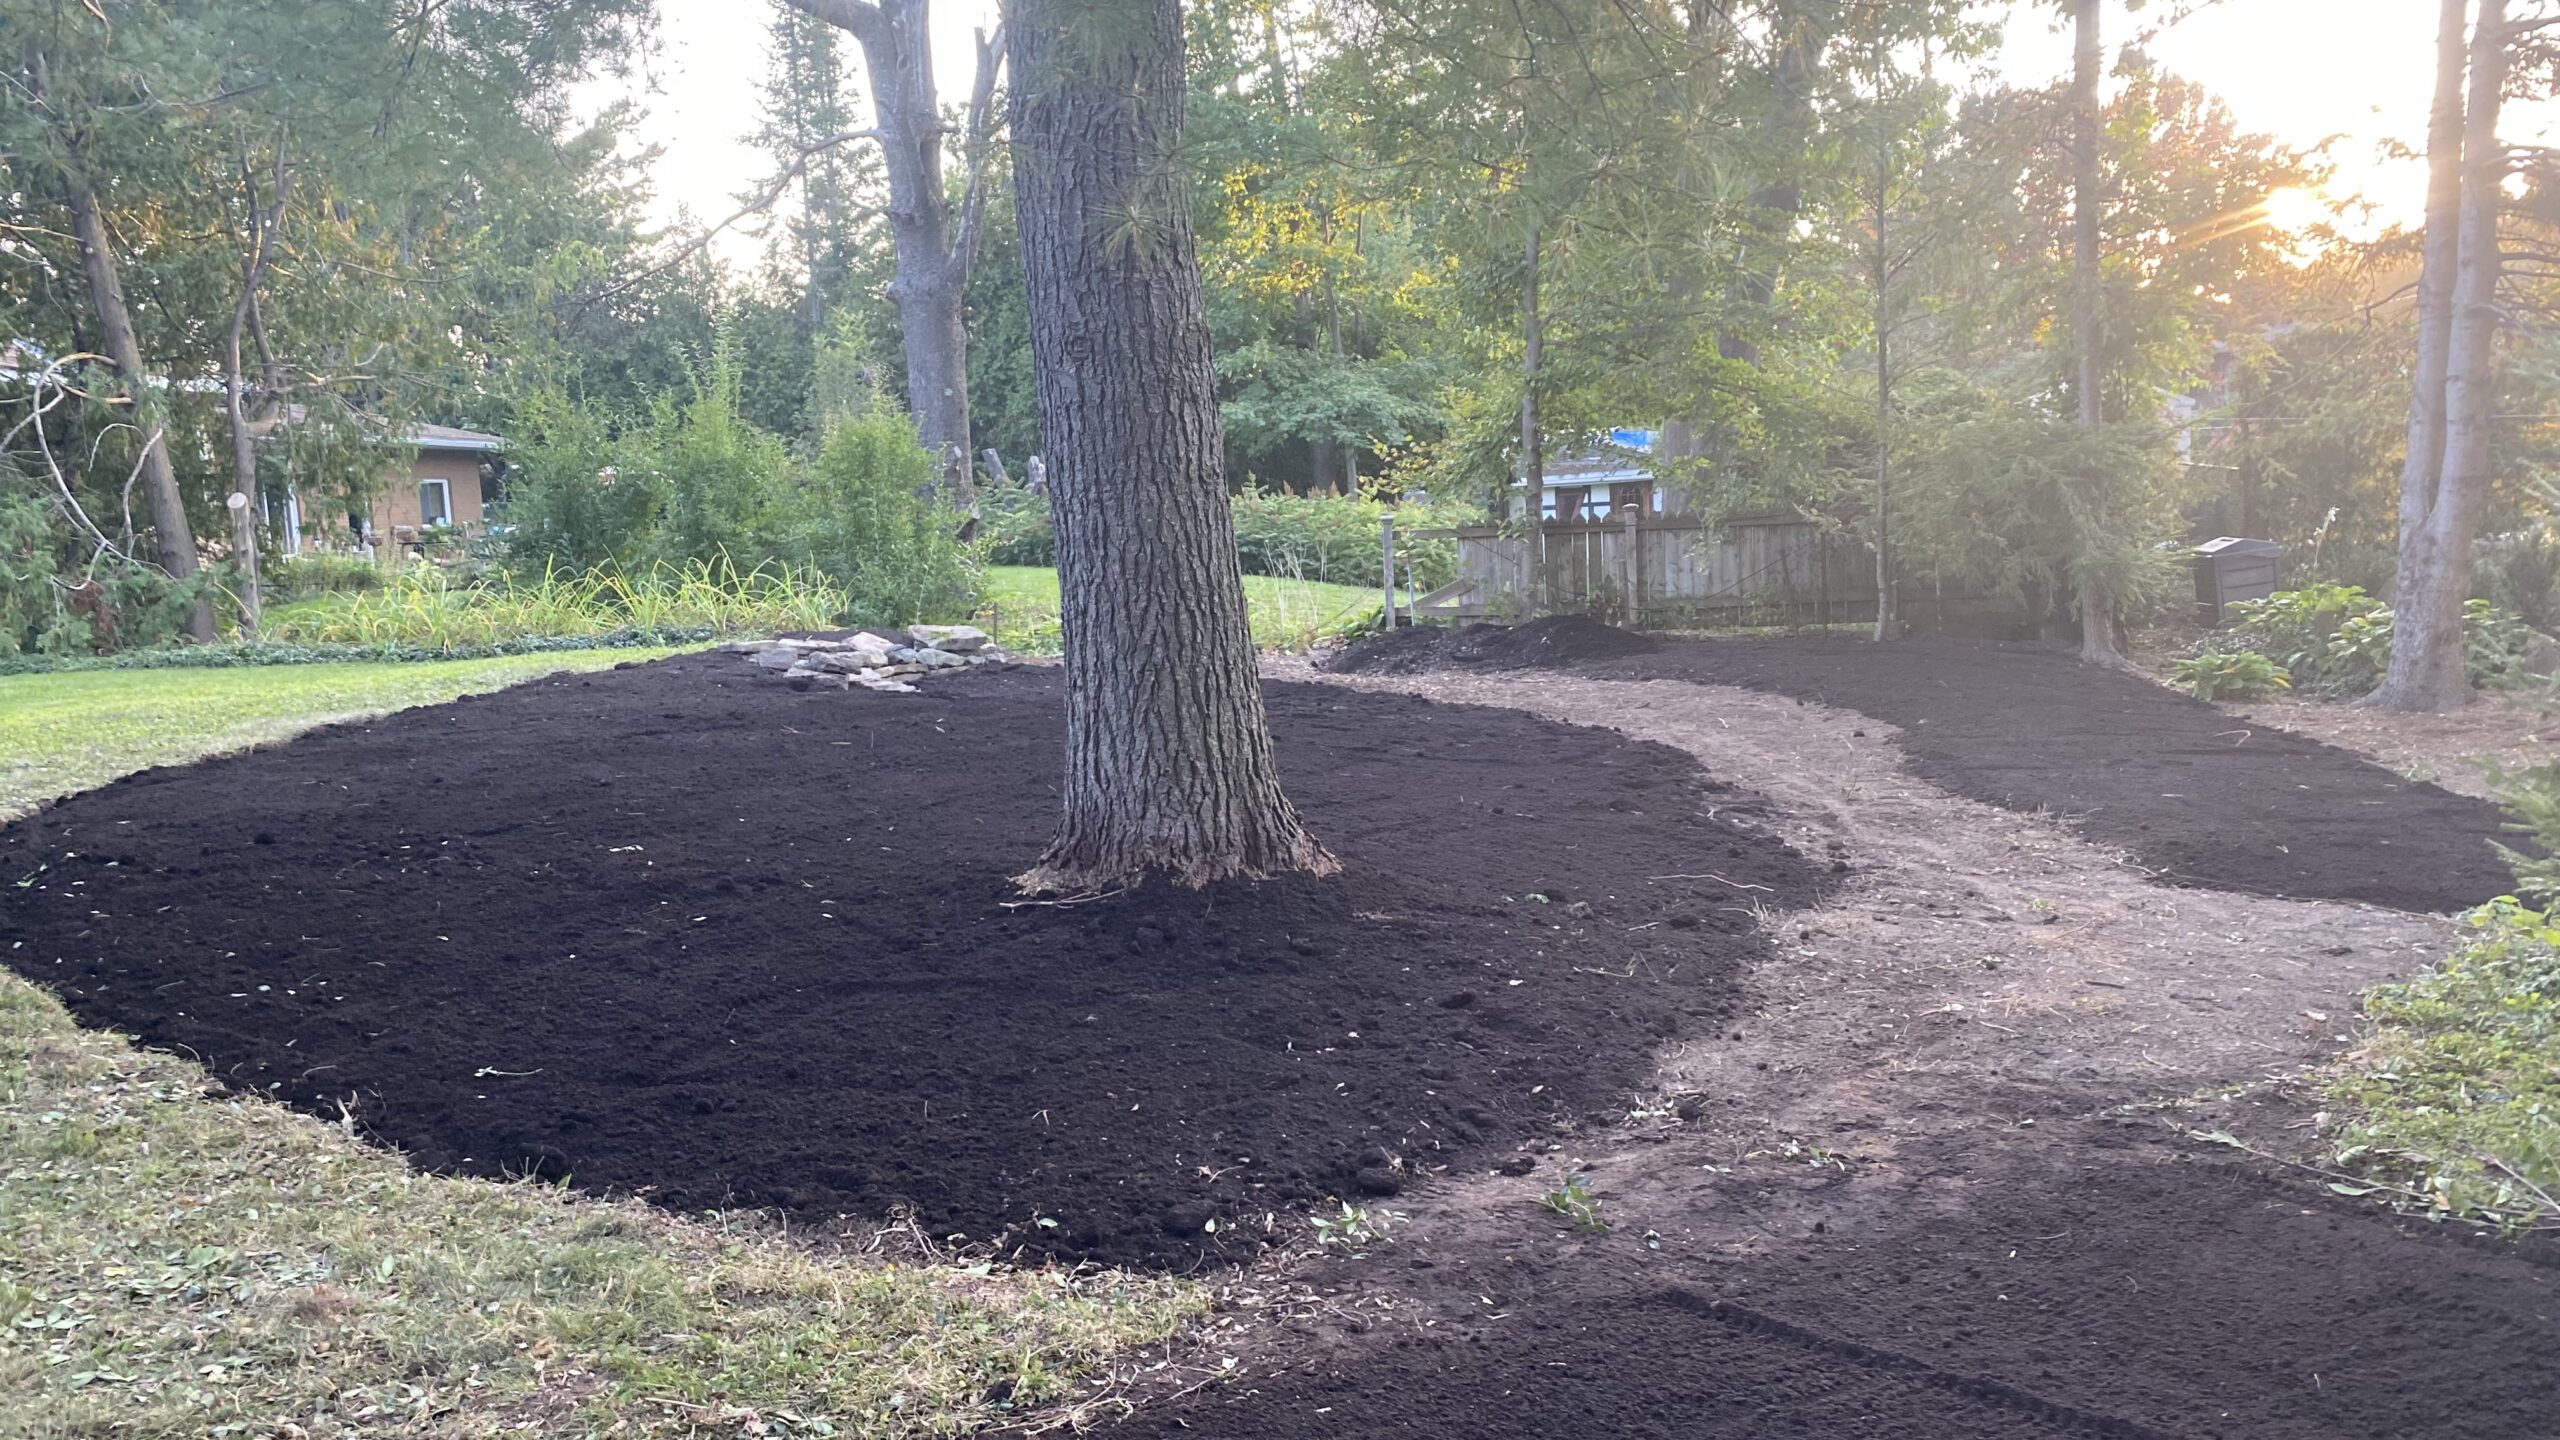
Garden Maintenance
Keep your garden beds healthy and beautiful year-round. We handle weeding, pruning, mulching, and seasonal prep so your garden thrives through every Ottawa season.
Weeds taking over your beds? We clear debris, pull weeds, do light pruning, and tidy edges so your garden looks sharp — without a full property overhaul.
What drives our passion for bringing beauty and quality craftsmanship to your outdoor space.
Driven by Passion, Built on Trust
CleanYards Landscaping was founded with a simple mission: to provide Ottawa homeowners with reliable, high-quality landscape maintenance and landscaping services they can trust. Your outdoor space should be a source of pride and enjoyment, not stress.
With 5+ years serving the Ottawa area and hundreds of properties maintained, we bring local expertise and a commitment to doing things right. Whether you're looking for landscaping near you in Barrhaven, Nepean, Manotick, or any of our service areas, we treat every property as if it were our own, with meticulous attention to detail from start to finish.
Quality Craftsmanship
Customer Focused Approach
Integrity & Reliability
Testimonials
Google Reviews
Hear From Our Happy Clients
Real feedback from verified clients across Ottawa and surrounding areas.
Showing 5 featured reviews available through Google's public reviews API.
Karen Leach
4 months ago
★★★★★
This has been my first year with CleanYards and Sebastian. I have been more than pleased with the work he has done for me. The yard maintenance and the fall clean up have been done very well, much better than I could do myself. I look forward to next Spring when I can have Sebastian do more jobs for me.
Jordan Willis
5 months ago
★★★★★
Recently had new sod installed. Sebastien and Andre were friendly and helpful in helping me understand the work they would be doing, did a fantastic job, provided a helpful guide and an open channel of communication on advice for future care, and all at a good price.
Would recommend Sebastien's business to anyone!
KG Ottawa
2 years ago
★★★★★
What a transformation! Sebastien changed a weed filled gravel pit into a beautiful low maintenace front yard we can be proud of. He checked in the night before the agrred upon day to make sure it was still convenient, showed up exactly when scheduled, did great work and even provided before and after pictures! A joy to work with! Thank you!!
Dianne Topshee
7 months ago
★★★★★
We had such a great experience with Sebastien and Clean yards Landscaping. Every step was easy and efficient. Sebastien was on time, professional and maintained communication throughout. Our yards looks amazing!
Greg Williams
a year ago
★★★★★
We could not be more pleased with Sebastien and the work he did for us. Sebastien is very professional with a work ethic like no other. His quotes are fair and he does what he says he is going to do. Honest hard work sets Sebastien apart from others. We are appreciative and highly recommend Sebastien and his team.
See More Client Reviews
Want the full list? Read all 20 reviews directly on Google.
Answers to the most common questions from Ottawa homeowners.
How does pricing work if every yard is different?
We give you a clear, honest quote after visiting your property. You'll know exactly what's included before any work starts. No hidden fees, no surprises. Book a free estimate and we'll walk through everything together.
Do you offer weekly or bi-weekly service?
Lawn mowing is offered on a weekly basis to keep your yard looking its best. For garden maintenance, we offer both weekly and bi-weekly options depending on your needs. You can adjust your schedule anytime. Reach out and we'll help you find the right fit.
What happens if it rains on my scheduled day?
We shift your service 1 to 2 days before or after and let you know ahead of time. Your service doesn't get skipped, the schedule just adjusts. One less thing for you to worry about.
Do you clean up clippings and debris?
Always. Lawn clippings are mulched back into the lawn to keep it healthy. Walkways are blown clean, and all other debris is removed. We leave your property looking better than when we arrived. See what that looks like in our transformations.
Are you insured?
Yes, CleanYards is fully insured with commercial general liability coverage. You're protected, and so is your property. Feel free to ask us for details during your free estimate.
How soon can you start?
Most new clients are scheduled within a few days of their estimate. During peak spring and fall seasons, booking early helps secure your preferred time slot. Get in touch today to lock in your spot.
Do you service my area?
We serve Ottawa and surrounding communities including Osgoode, Manotick, Greely, Nepean, Barrhaven, and Riverside South. If you're searching for landscape maintenance near you, chances are we're already working in your neighbourhood. Just ask.