
Prep Richmond Garden Tools for Winter: Avoid Rust & Strain
Quick Summary: Keep your garden tools in top shape this winter!
- Clean tools thoroughly to remove dirt and prevent rust.
- Sharpen blades for easier work and healthier plants next spring.
- Oil metal parts and condition wooden handles.
- Store tools in a dry, organized space away from harsh elements.
- Proper winter prep saves time, money, and effort next season.
Need help getting your yard winter-ready? Request a quote today!
Introduction: Winter is Coming, Richmond! Are Your Garden Tools Ready?
Alright, Richmond, brace yourselves – winter *is* coming! That crisp Ottawa air has a definite bite now, signaling it’s time to think beyond colourful fall leaves and towards, well, snow shovels. But before the heavy snow blankets everything from nearby Greely to our own backyards here in Richmond, let’s chat about the unsung heroes of our summer yards: our garden tools. Maybe you found us via our Google Business Profile while searching for local tips!
After a busy season of digging, planting, trimming hedges, and maybe even some ambitious landscaping projects, your tools deserve a little TLC. Just leaving your shovels, pruners, trowels, and even your lawnmower out to face the harsh Ottawa winter – the freeze-thaw cycles, ice, and dampness – is asking for trouble. Think frustrating rust, warped wooden handles, and dull blades come springtime.
Taking an hour or two *now* for proper winter tool maintenance is the secret weapon for a smooth start next gardening season. It saves you money in the long run (no need to replace ruined gear!), extends the life of your valuable equipment, and means you’re ready to hit the ground running (or digging!) as soon as the soil is workable again, perhaps after some thorough soil preparation.
In this guide, we’ll walk you through the simple but essential steps for winterizing your garden tools:
- Cleaning off the season’s grime and soil
- Sharpening blades for crisp cuts next year
- Storing them safely away from winter’s wrath
Let’s get your gear prepped for its well-deserved winter hibernation!
Why Bother? The Chilling Consequences of Tool Neglect in the Ottawa Valley
Okay, let’s dig into why letting your tools face the Ottawa winter unprepared is a *really* bad idea. You might think, “Eh, they’re tools, they’re tough!” But skipping that little bit of pre-winter care can lead to some genuinely chilling consequences, hitting both your wallet and your gardening mojo come spring.
First off, rust. It’s the arch-nemesis of metal tools, and the damp Ottawa Valley air, combined with freeze-thaw cycles, is basically rust’s best friend. Leaving soil caked on your shovel or trowel traps moisture right against the metal. Before you know it, that trusty spade looks like it wrestled a tetanus booster and lost. Replacing rusted-out tools isn’t cheap, especially if you’ve invested in quality gear. You can check our privacy policy regarding how we handle information if you decide to purchase tools through potential future affiliate links.
Then there are the wooden handles. That lovely smooth wood? It swells when damp and shrinks when dry. Repeat that cycle all winter under a snowdrift near Barrhaven, and you’re looking at cracks, splinters, and eventually, a handle snapping right when you’re tackling that stubborn patch of clay soil next spring. Ouch.
But it’s not just about looks or replacement costs. Neglected tools *perform* poorly. Dull pruner blades don’t make clean cuts; they crush stems, leaving plants vulnerable to disease and pests – something you definitely want to avoid when planning your . Trying to shape shrubs with blunt shears? Forget those neat lines you learned about in guides like these . And those delicate tasks, like getting your roses ready for the cold? Good luck achieving the clean cuts needed, as outlined in these , with rusty, sticky blades.
Using dull, damaged, or dirty tools makes every gardening task harder, slower, and less effective. Remember how tough controlling vigorous growth felt last summer? Imagine doing it with tools that fight you every step of the way – it makes following any feel like a chore instead of a joy. It’s not just inefficient; it can be unsafe if a handle breaks or a blade slips unexpectedly.
So, “why bother?” Because a little effort now prevents rust, rot, and ruin. It saves you money, frustration, and ensures your tools are ready and safe for another beautiful Ottawa gardening season. If the thought of tackling it all feels overwhelming, remember there are always Professional Yard Care Services Available to lend a hand. Perhaps a Ottawa Yard Cleanup Service could take the load off.
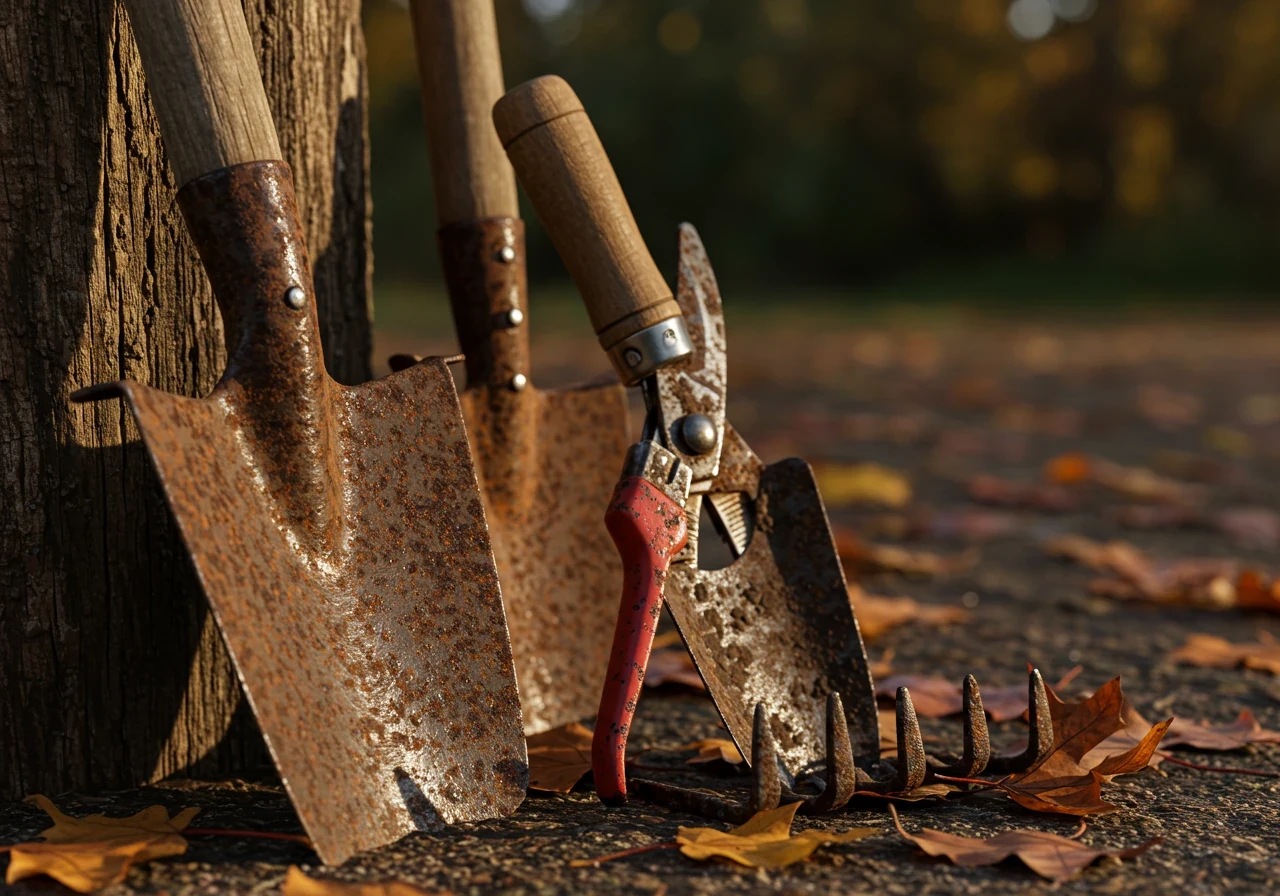
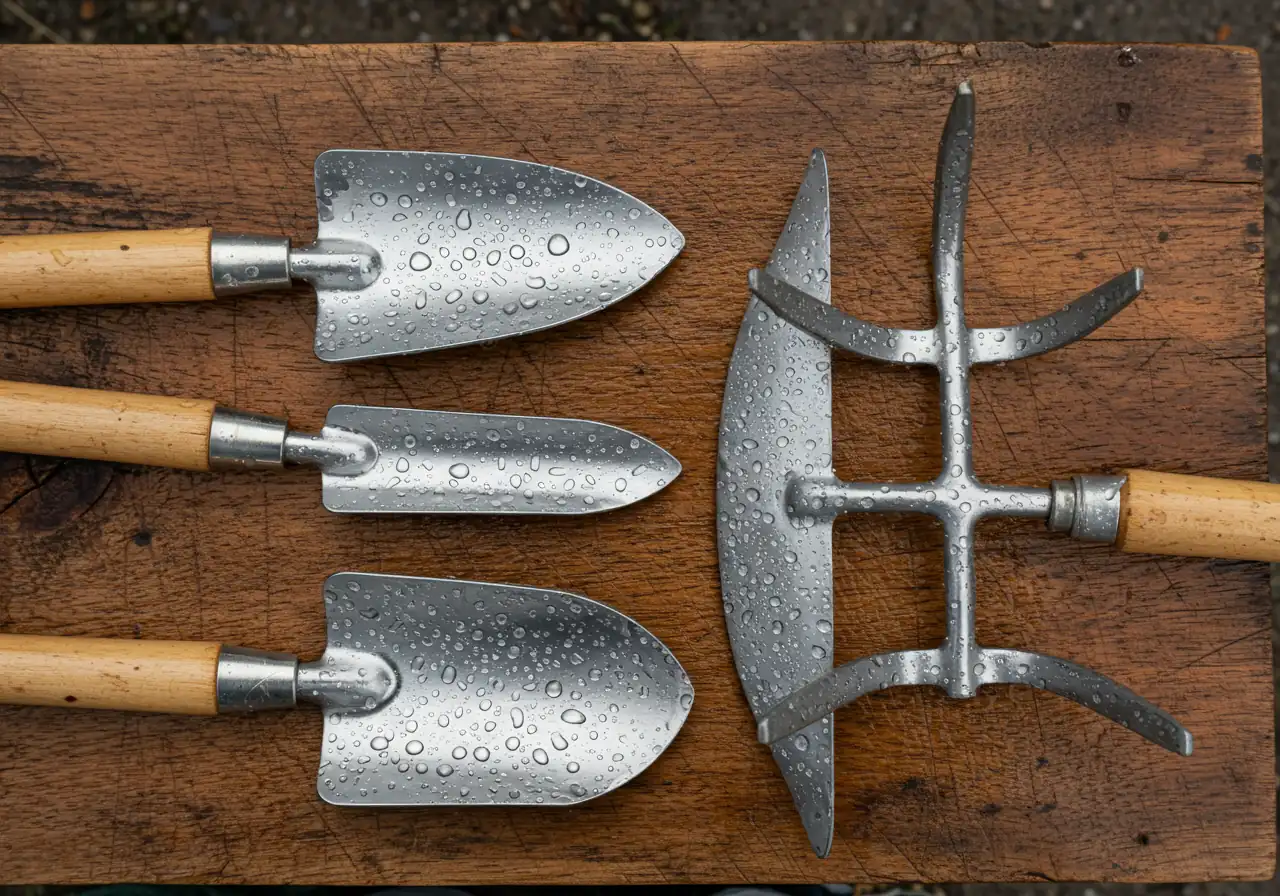
Winter Prep: Digging Tools
Shovels, spades, trowels, and forks take a beating. Focus on removing all caked-on soil, especially sticky clay. Pay attention to the joints where handles meet metal. Sharpening the edges makes breaking ground much easier next spring. A light coat of oil is essential for rust prevention.
Relevant Service: Garden Installation
Winter Prep: Cutting Tools
Pruners, loppers, and shears need careful cleaning to remove sap. Sharpening is critical for clean cuts that protect plant health. Lubricate pivot points and springs thoroughly after cleaning and drying. Store them in a closed position if possible.
Related Task: Mulching and Edging often requires sharp tools for defining borders.
Winter Prep: Power Equipment
Lawnmowers, trimmers, and leaf blowers need special care. Clean decks and guards. Address the fuel system by draining or using a stabilizer. Check spark plugs and air filters. For battery tools, remove and store batteries indoors in a cool, dry place (not freezing).
Consider professional Lawn Care services for maintenance.
Operation Clean Sweep: Banishing Dirt, Grime, and Stubborn Ottawa Clay
Okay, let’s roll up our sleeves for “Operation Clean Sweep”! Your trusty garden tools have battled weeds, turned soil, and trimmed hedges all season long. Now it’s time to reward their hard work with a good, thorough cleaning before their winter rest. Skipping this step is like sending them to bed without washing their face – grime invites trouble, especially rust!
First things first: knock off the easy stuff. Grab your shovels, trowels, hoes, and rakes and give them a good bang against a hard surface (carefully!) or use a stiff brush to dislodge loose dirt, dried leaves, and grassy bits. Think of it as shaking off the day’s dust.
Next, tackle the stubborn grime. We’re talking about caked-on mud – and if you’ve been gardening anywhere near Osgoode or Metcalfe, you know how *tenacious* that Ottawa clay can be! It clings like it’s paying rent. A wire brush or a sturdy putty knife (used gently to avoid scratching metal) works wonders here. For pruners and shears gummed up with sticky plant sap, try wiping the blades with a rag dipped in a little rubbing alcohol or turpentine (use in a well-ventilated area!). An eco-friendly option for sap is often a good scrub with vegetable oil followed by soap and water.
Now for a proper wash. Fill a bucket with warm water and add a squirt of biodegradable dish soap. Dunk the metal parts (avoid soaking wooden handles for too long) and give them a good scrub with your brush. Get into all the nooks and crannies! Rinse everything thoroughly with clean water from the hose or another bucket. Leaving soap residue isn’t ideal either. Dealing with stubborn Ottawa clay requires elbow grease, and it’s a key part of any effective Ottawa Property Cleanup Service, even when you’re just focusing on your tools.
Here’s the *most critical* part: Dry. Them. Completely. Seriously, don’t skip this. Water is rust’s best friend. Use old rags or towels to wipe down every single metal and wooden surface. For tools with moving parts like pruners, work them open and closed a few times while drying to get moisture out of the joints. If it’s a surprisingly sunny Ottawa fall day, letting them air dry completely in the sun for an hour is a bonus, but always finish with a towel dry. Consider checking out reliable local resources like the City of Ottawa Hazardous Waste Disposal guide for proper disposal of any cleaning agents.
This kind of detailed tool care is essential whether you’re doing a DIY tidy-up or getting help from a dedicated Richmond Garden Clean Up Service. The principles are the same everywhere, from the city edges to areas needing a Marionville Garden Clean Up Service or even a Metcalf Garden Clean Up Service; clean tools make for happy gardens and successful garden maintenance.
While you’re focused on tools, don’t forget the bigger picture! Tackling the whole yard can be a big job, but there are many Clean Yards Landscaping Services to help. Honestly, if this all sounds like more mud-wrestling than you signed up for, you can always call in the experts. Let them handle the dirty work, and you can mentally send them a big thank you!
With your tools sparkling clean and bone dry, they’re ready for the next step: sharpening and oiling!
Get an Edge: Sharpening Tools Now for a Strain-Free Spring
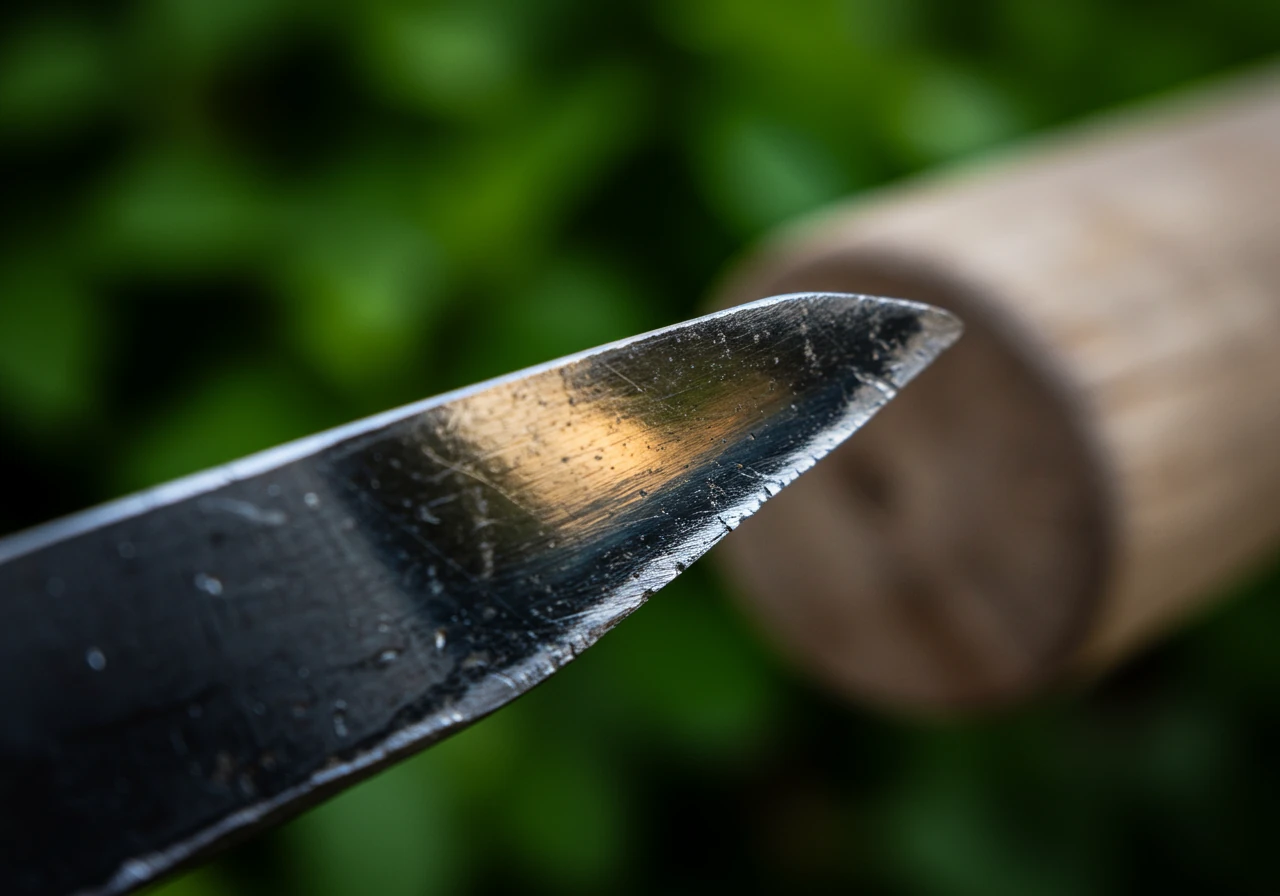
Alright, your tools are sparkling clean thanks to Operation Clean Sweep! Now, let’s give them back their bite. Sharpening your tools now isn’t just about showing off – it means less elbow grease for you next spring and cleaner cuts for healthier plants. A dull blade crushes stems instead of slicing them cleanly, which is like leaving an open invitation for pests and diseases. Think of it: trying to get crisp lines when doing detailed work like mulching and edging with a dull spade is just… well, less than ideal. Let’s avoid that frustration!
First things first: safety! Seriously, don’t skip this. Always wear sturdy gloves (leather is great) and eye protection. Tiny metal filings can definitely ruin your day! Make sure the tool you’re sharpening is clamped securely in a vise or held firmly against a stable surface so it doesn’t slip. *Always* push the file or stone away from your body, never towards yourself. For safety tips during outdoor work, consider resources like Ottawa Public Health’s info on cold weather safety.
For your digging tools like shovels, spades, and hoes, a 10- or 12-inch mill bastard file is your best bet. Find the cutting edge – it usually has a bevel (a slight angle) on one side. Clamp the tool securely. Place the file flat against the bevelled edge, trying to match the existing angle (often around 45 degrees for these workhorse tools). Push the file firmly *away* from you in smooth strokes along the edge, lifting it off the metal on the return stroke. Don’t saw back and forth like you’re cutting firewood! Repeat this several times along the entire edge until it feels sharp. You’re aiming for a consistent, clean edge, not necessarily something to shave with. You might feel tiny bits of rolled metal (burrs) on the back edge; gently knock these off with a single, light pass of the file held flat against the back.
Pruners, loppers, and shears need a bit more finesse and a finer touch. A whetstone (oil or water stone) or a diamond file works best here. Again, locate the beveled cutting edge – you *only sharpen this side*. Carefully follow the original angle, which is usually much shallower than a shovel’s edge. Use smooth, consistent strokes, often moving from the base of the blade towards the tip. If using an oil stone, a few drops of honing oil can help lift away the metal particles. Once sharp, gently remove any burr from the flat *back* side with one careful, flat pass of the stone. It’s crucial that the flat side stays perfectly flat for the tool to make a clean slicing action. Keeping these blades sharp is as vital for your shrubs and perennials as good lawn care practices are for your grass.
Getting the angle just right can take a bit of practice. If you’re feeling hesitant, especially with pricey bypass pruners or tricky hedge shears, don’t sweat it! Many local hardware stores or specialized sharpening services around Ottawa, perhaps near Manotick or Nepean, offer professional sharpening for a reasonable fee. Consider sharpening a key final step in your overall fall property clean up routine. Getting it done now ensures you’re ready for anything next gardening season, whether you’re tackling all the landscaping yourself or deciding to enlist help from an Ottawa property cleanup service. Proper tool maintenance is universal; even properties requiring a Marionville property cleanup service or a Metcalf property cleanup service benefit hugely from sharp, ready-to-go equipment.
Once everything is sharp, give the metal parts a final wipe-down to remove any lingering metal filings before moving on to oiling and storage!
Tool Prep Effort Distribution (Estimated Time)
Oil’s Well That Ends Well: Rust-Proofing and Lubricating for the Freeze
Alright, your tools are clean and sharp – now for the final spa treatment before their long winter nap! Just like we pull out warmer coats, our garden tools need a protective layer against the damp Ottawa chill. Skipping this step is like leaving your shiny shovel naked in a snowbank near Kars – rust *will* happen, especially with our lovely freeze-thaw cycles. This “Oil’s Well That Ends Well” phase is crucial for keeping metal pristine and moving parts, well, moving!
Think of oil or a protectant as a shield. It creates a barrier between the clean metal and the moisture in the air, stopping rust before it even thinks about starting. For tools with hinges and springs, like your pruners and loppers, lubrication is key to preventing them from seizing up over winter. You want smooth cuts next spring, not a wrestling match with sticky hinges! This attention to detail is part of what makes a thorough Ottawa Garden Clean Up Service so effective in the long run.
Applying the Goods:
It’s simple! Grab a clean rag and apply your chosen oil or protectant. Wipe down *all* metal surfaces – blades, tines, shovels, the works. You only need a *thin, even coat*. No need to drown them! For moving parts (pivots on loppers, springs on pruners), apply a drop or two directly into the joint, then work the tool open and closed a few times to distribute the lubricant. Happy hinges make happy gardeners!
Choosing Your Weapon (Against Rust):
There are several options, each with pros and cons:
- General Purpose/3-in-1 Oil: Readily available, inexpensive, and effective for rust prevention and basic lubrication. Pro: Easy to find and use. Con: Petroleum-based, might not last *as* long as specialized options.
- Boiled Linseed Oil (BLO): Excellent for both metal and wood! It hardens slightly (polymerizes) to create a durable protective layer. Pro: Protects metal and conditions wood handles. Con: Dries slowly, and critical safety note: rags soaked in BLO can spontaneously combust if crumpled up – always lay them flat to dry outdoors or soak them in water before disposal.
- Specialized Tool Protectants (e.g., Camellia Oil): Often plant-based, offer great rust protection, ideal for fine tools like pruners. Pro: Excellent protection, often eco-friendlier. Con: Can be pricier.
- Eco-Friendly Options (Vegetable/Soybean Oil, Beeswax blends): Better for the planet. Pro: Biodegradable. Con: Some vegetable oils can potentially go rancid or get gummy over a long winter, may need reapplication sooner.
- What About WD-40? It’s great for displacing water right after washing or cleaning stuck parts, but it’s not the best long-term lubricant or rust preventer. Use it for cleaning, wipe it off, then apply a proper oil.
Don’t Forget the Wood!
Wooden handles need love too, especially after a potentially wet season gardening out near Vernon. If they feel rough, give them a light sanding. Then, wipe them down with Boiled Linseed Oil or Tung oil. This helps seal the wood against moisture, preventing cracks and splinters. It keeps them feeling good in your hands next season. This level of care reflects the dedication you can learn more about on our About Us page – we believe in doing the job right!
Taking these simple steps ensures your tools emerge from winter ready for action. Well-maintained tools make all landscaping tasks easier and contribute to those picture-perfect results you might see in our Project Gallery. Properly winterizing tools is a key final step in your fall Property Clean Up efforts. And looking ahead, keeping track of your garden maintenance schedule is easy when you use our Clean Yards Customer Portal for planning next season’s needs.
Seasonal Tool Care Timeline
Spring Startup
Inspect tools after storage. Lightly re-oil if needed. Check sharpness before first use. Inflate tires on wheelbarrows/carts.
Mid-Summer Check
Clean sap off pruners regularly. Touch up sharpening on frequently used tools like hoes or shears. Check handle tightness.
Late Summer/Early Fall
Clean & prepare tools used for major pruning or garden clearing. Address any minor damage before it worsens.
Late Fall (Winter Prep)
Perform the full Clean, Sharpen, Oil, Store routine as described in this article. Prepare power equipment for storage.
The Big Store: Smart Winter Storage Strategies for Ottawa Sheds & Garages
Alright, your tools are clean, sharp, and oiled – ready for their long winter’s nap! Now, where do we tuck them in? Just leaving them piled in a corner of the garage or shed is asking for a springtime scavenger hunt, possibly involving spiders. Let’s talk smart storage strategies to keep your gear safe, sound, and ready for action when the snow finally melts. Think of your shed or garage as the ultimate seasonal storage unit – “The Big Store”!
Location is Key:
First rule: Keep ’em dry! Your shed or garage is the prime real estate. Avoid storing tools directly on concrete floors, as moisture can wick up and cause rust, even after oiling. Definitely don’t leave them outside under a tarp or leaning against the house – Ottawa winters are just too harsh. Even under a deck isn’t ideal; dampness and critters love those spots. If your shed is looking a bit chaotic after the season, tidying it up can feel like part of a larger fall cleanup – almost like getting a professional Ottawa Yard Cleanup Service but just for your storage space!
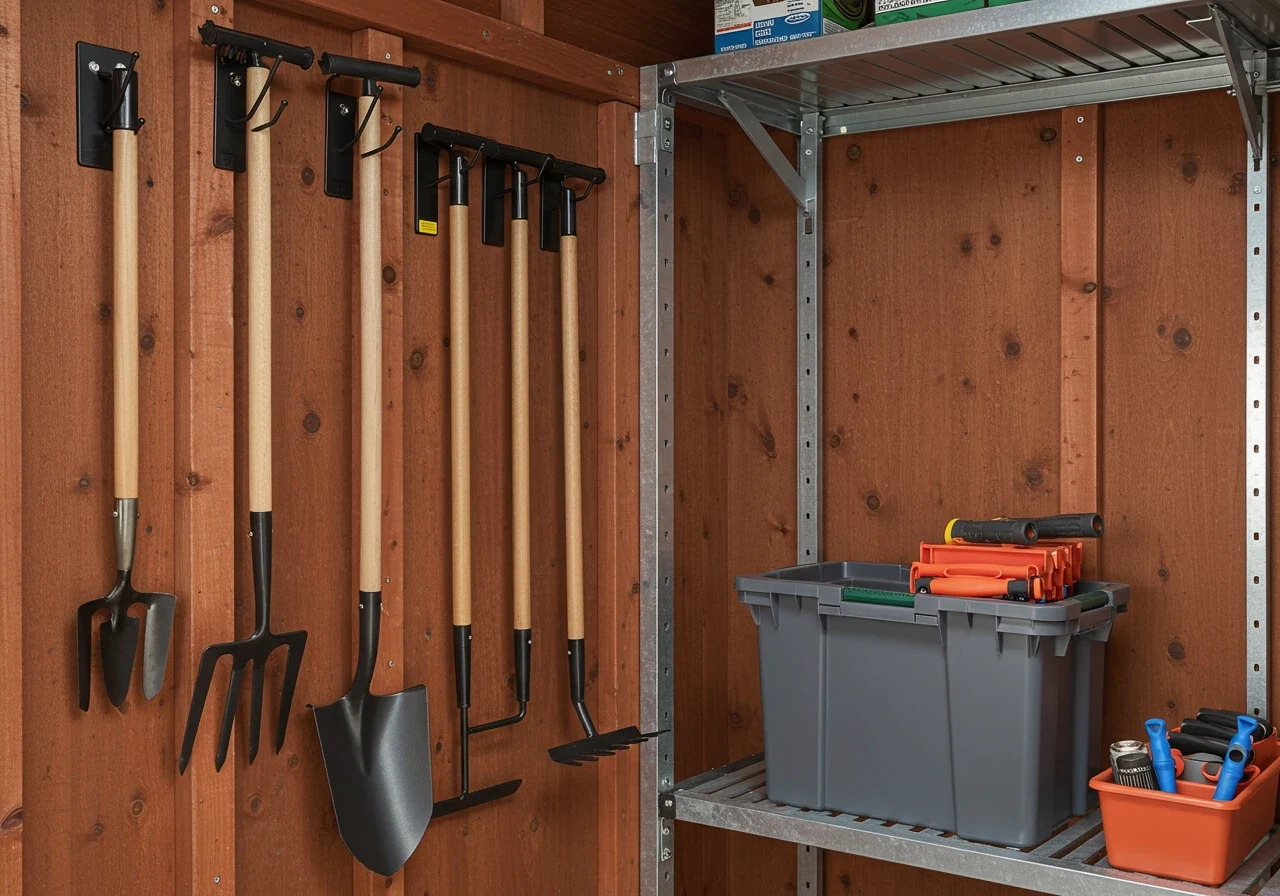
Get Organized (No More Tool Jenga):
- Hang ‘Em High: Wall space is your friend! Pegboards, sturdy hooks, or specialized tool racks get shovels, rakes, and hoes off the floor and out of the way. This prevents tripping hazards and makes finding what you need much easier. Make sure sharp edges face the wall or are covered for safety.
- Bin There, Done That: Use sturdy plastic bins for smaller hand tools like trowels, cultivators, and pruning snips. Label the bins so you know what’s inside without rummaging.
- Shelf Life: If you have shelves, use them! Lighter items or containers can go here. Keep heavier stuff lower down for safety.
Powering Down Properly:
Your lawnmower, trimmer, and other gas-powered buddies need special attention:
- Fuel Facts: Either drain the fuel tank completely *or* add a fuel stabilizer following the product instructions. Old gas can gum up the carburetor, leading to frustrating start-up problems next spring when you’re eager to tackle new lawn projects, perhaps even involving sod installation.
- Clean Machine: Clean grass clippings and grime from mower decks and trimmer guards. Caked-on debris can trap moisture and promote rust.
- Battery TLC: For cordless tools, remove the batteries and store them indoors in a cool, dry place (not freezing). Check the manual for specific storage recommendations.
Hose Sense:
Don’t forget your garden hoses! Drain them *completely* – lift sections to ensure all water is out. Water left inside will freeze, expand, and crack the hose. Coil them loosely (avoid tight kinks) and store them in the shed or garage, perhaps hanging on a hose reel or hook.
Ottawa Winter Woes:
Living in places like Winchester or Kenmore means dealing with significant snow. Avoid piling heavy snow against shed doors, as the weight and moisture can cause issues. Also, keep storage areas relatively tidy to discourage mice and other critters from turning your garden gloves into cozy winter nests. A clean space is less inviting! Think of it as the final step in your fall property tidy-up, similar to the comprehensive approach taken by a Metcalf Property Cleanup Service. Sometimes, just seeing the results of a professional clean can give you ideas; maybe browsing services like the Metcalf Yard Cleanup Service or Marionville Yard Cleanup Service page inspires storage solutions!
Taking these steps might seem like a bit of work now, but your future self will thank you profusely next spring. If you’re ever unsure about the best approach or want feedback on your grand storage plan, reaching out for advice is always an option – perhaps through something like an estimate feedback form where you can ask specific questions.
| Tool Type | Key Winter Prep Actions | Frequency |
|---|---|---|
| Shovels, Spades, Hoes | Clean thoroughly, Sharpen edge, Oil metal | Annually (Fall) |
| Pruners, Loppers, Shears | Clean sap, Sharpen blade(s), Lubricate pivot, Oil metal | Annually (Fall), Sharpen/Clean as needed |
| Rakes, Forks | Clean debris, Check handle condition, Lightly oil metal | Annually (Fall) |
| Lawn Mower (Gas) | Clean deck, Stabilize/Drain fuel, Check plug/filter, Sharpen blade | Annually (Fall) |
| Battery Tools | Clean tool body, Remove & store battery indoors | Annually (Fall) |
| Hoses | Drain completely, Coil loosely, Store indoors | Annually (Fall) |
Key Insights: Winter Tool Prep Cheat Sheet
Okay, feeling a bit overwhelmed by all the pre-winter prep talk? Don’t sweat it! Here’s your quick-and-dirty cheat sheet to get those essential garden tools ready for their frosty Ottawa hibernation. Think of this as the highlight reel – the absolute must-do steps to avoid springtime sadness (and rusty tools!).
Consider this your mini-mission before the snow *really* flies in Barrhaven and beyond:
- Scrape & Scrub Like You Mean It:
- Knock off all loose dirt and stubborn Ottawa clay. Get tough!
- Wash metal parts with soapy water (a wire brush helps!).
- Rinse thoroughly – no soap scum allowed.
- Crucial Step: Dry EVERYTHING completely with old towels. Seriously, bone dry. Think of the thoroughness used during a professional Ottawa Garden Clean Up Service – apply that level of detail here.
- Get Your Edge On (Safely!):
- Wear gloves and eye protection – no excuses!
- Use a file for shovels/hoes, matching the existing angle. Push *away* from you.
- Use a whetstone or diamond file for pruners/loppers, sharpening *only* the bevelled edge. Finesse counts here!
- Sharp tools make next year’s gardening easier, setting you up for impressive results, maybe even some garden Transformations.
- Oil ‘Em Up for Rust Defense:
- Wipe a *thin* coat of protective oil (like 3-in-1, Boiled Linseed Oil, or Camellia oil) on all clean, dry metal parts.
- Add a drop of oil to hinges and moving parts (pruners, loppers) and work them a few times.
- Wipe wooden handles with Boiled Linseed Oil to prevent cracking. This simple step is part of good year-round Garden Maintenance.
- Store Smart, Not Scattered:
- Keep tools *indoors* (shed/garage) and *off* concrete floors if possible.
- Hang long-handled tools on racks or hooks.
- Use bins for smaller hand tools.
- Drain fuel from gas engines or use stabilizer. Remove batteries from cordless tools.
- Drain hoses completely and coil loosely indoors. A tidy tool area is just as satisfying as a freshly tidied yard after a Marionville Property Cleanup Service.
Follow these key steps, and your tools will thank you with smooth operation and a long, rust-free life come spring! Happy prepping!
FAQs: Your Ottawa & Richmond Tool Care Questions Answered
Great question! Preventing rust is key. After cleaning and drying, apply a thin coat of penetrating oil. Options like 3-in-1 oil, boiled linseed oil (also great for wood!), or specialized tool oils work well. Even a light coat of WD-40 can displace moisture right after cleaning, but follow up with a longer-lasting oil for winter storage. The goal is a barrier against that damp Ottawa air!
Absolutely, *if* they’re clean and dry first! An unheated shed or garage in Richmond or nearby Manotick is much better than leaving tools outside. The key is keeping them off damp concrete floors (hang them up!) and ensuring the space is relatively moisture-free. Remember, extreme cold itself isn’t the main enemy – it’s the moisture that leads to rust and rot. Proper storage protects your investment; you can review general homeowner responsibilities in our terms and conditions.
Don’t despair! For light rust, vigorous scrubbing with a wire brush might do the trick. For tougher rust, try soaking the metal parts in white vinegar for several hours or overnight, then scrub again. It takes elbow grease, but you can often salvage rusty tools. Afterwards, sharpen if needed, oil well, and store properly to prevent a repeat performance. Prevention is easier, much like how a regular Metcalf Garden Clean Up Service avoids bigger gardening headaches later.
For most home gardeners in the Ottawa area, a thorough sharpening once a year – typically during your fall tool prep – is usually enough for shovels, hoes, and pruners. However, if you have a large property, do extensive landscaping, or notice tools aren’t cutting cleanly during the season, sharpen them more often! Sharp tools make gardening easier and are better for your plants. If you’re unsure about tackling tricky blades, feel free to contact us for advice or check local resources like Lee Valley Tools Sharpening Guides.
Ah, the classic wooden handle woe! First, give it a light sanding with medium-grit sandpaper to smooth it out. Wipe away the dust completely. Then, apply a coat or two of boiled linseed oil (BLO) or tung oil with a clean rag. This nourishes the wood and seals out moisture, preventing future cracks and splinters. Taking care of handles complements choosing quality tools, similar to how good material selection is vital for successful landscaping projects. Your hands will thank you next spring!
Conclusion: Sleep Soundly This Winter – Your Tools Are Ready for Spring!
Whew! You’ve done it. By following these steps – cleaning off that stubborn Ottawa clay, sharpening those edges, oiling everything up, and finding a cozy storage spot – you’ve basically given your garden tools a spa day before their long winter hibernation. Now *you* can sleep soundly knowing that come spring, your trusty trowels, sharp shears, and ready rakes will be itching to get back into the garden soil, saving you time, money, and a whole lot of frustration. No more fighting rusty hinges or dull blades when the first crocuses appear!
Taking this little bit of time now for proper tool care is a smart investment in future gardening success, whether you’re tending a small patch in Nepean or managing larger landscaping projects out in Manotick or Greely. You’ll be ready for tasks like sod installation or detailed garden installs when the weather warms up.
Feeling like your schedule is already packed tighter than a squirrel’s cheeks before winter? If tackling the tool tune-up or the full fall yard cleanup feels like one task too many, we get it! The Clean Yards team is ready to help residents in Richmond, Ottawa, and surrounding areas. Give us a call or visit our website to get a free estimate on our property cleanup and landscaping services. Let us handle the dirty work, so you can focus on planning next year’s garden dreams! Check out our gallery for inspiration, and connect with us online!
