

Karen Leach
4 months ago
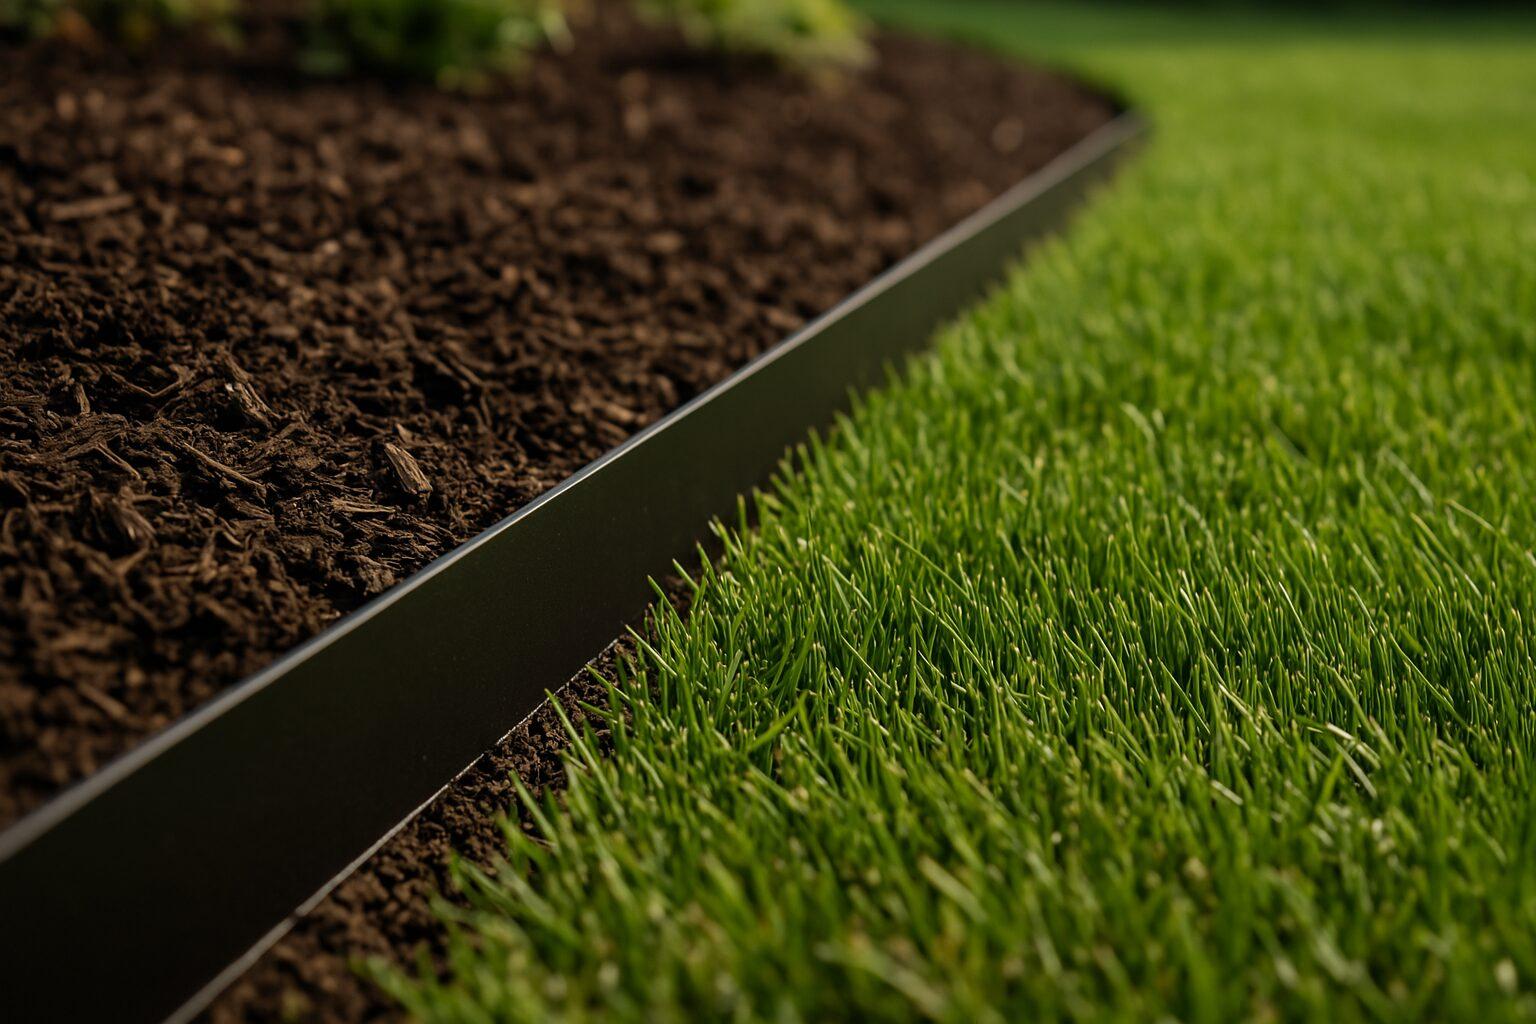
This has been my first year with CleanYards and Sebastian. I have been more than pleased with the work he has done for me. The yard maintenance and the fall clean up have been done very well, much better than I could do myself. I look forward to next Spring when I can have Sebastian do more jobs for me.


