
Embrun Garden Spacing: Prevent Summer Overcrowding Now
- Proper spacing prevents competition for sunlight, water, and nutrients.
- Good airflow reduces fungal diseases and pest infestations.
- Always check plant tags for mature size and recommended spacing.
- Measure accurately using tools like tape measures and markers.
- Thin crowded seedlings and transplant carefully if needed.
- Space plants for easy access for weeding, watering, and harvesting.
Need help achieving the perfect spacing? Request a quote today!
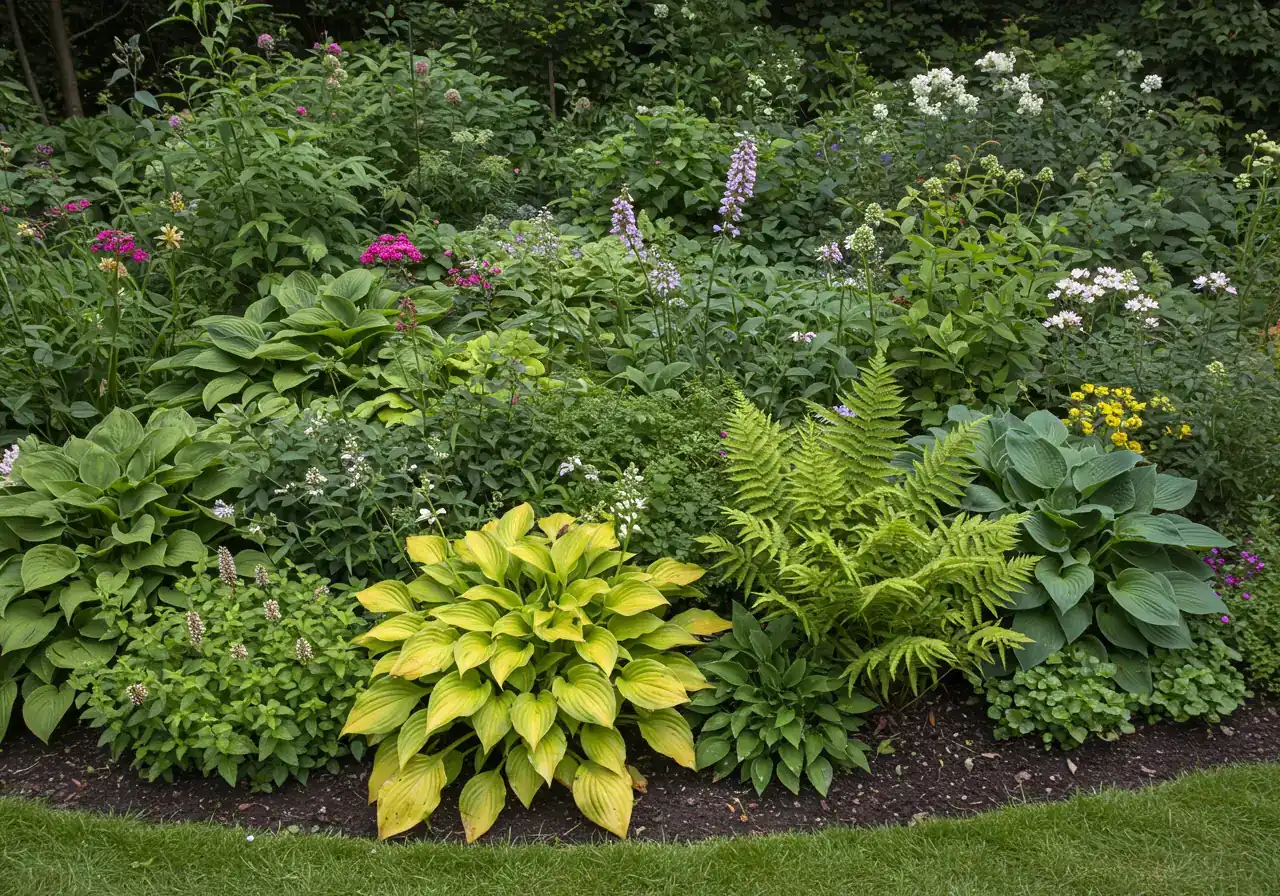
Introduction: Greetings Embrun Gardeners! Let’s Talk Elbow Room for Your Plants
Hello Embrun gardeners! Ever notice how your beautifully planned spring garden sometimes turns into a botanical free-for-all by mid-summer? You know the scene – those lovely perennials are playing bumper cars, and the annuals have staged a slightly *too* enthusiastic takeover of the flower bed. It’s a familiar sight from Russell right through to the suburbs of Ottawa! That feeling when your plants are practically wrestling for sunlight isn’t just messy; it’s a sign they desperately need some *elbow room*. Overcrowding is more than just a cosmetic issue in landscaping; it stresses plants, forcing them to compete fiercely for sunlight, water, and nutrients, and basically rolling out the welcome mat for pests and diseases by reducing air circulation.
But fear not! The secret weapon against this garden chaos is simpler than you think: *proper plant spacing*. Getting the distance right from the start is fundamental to creating healthier, more resilient, and frankly, much better-looking gardens. Think of it as giving your green buddies the personal space they need to breathe, soak up the sun, and truly show off without stepping on each other’s roots. We’re here to help you master this crucial step, ensuring your plants have the room they need to thrive right here in our lovely corner of Eastern Ontario. Let’s turn that potential plant mosh pit into a picture-perfect paradise! Maybe you have seen some examples in our project gallery?
Why Your Plants Need Personal Space (More Than Just Looks!)
Okay, let’s dig into why giving your plants their own little bubble of space is super important – and it goes way beyond just looking neat and tidy! Think of your garden bed like a dinner table. If you cram too many guests around it, nobody has enough elbow room, plates get knocked over, and someone *always* misses out on the good stuff. It’s the same for your plants!
The Great Resource Scramble
When plants are shoved together like commuters on a rush-hour train, they enter a fierce competition. They’re all desperately reaching for the same limited resources:
- Sunlight: Tall or fast-growing plants can easily overshadow their shorter neighbours, leaving them shaded and struggling to photosynthesize (that’s how they make their food!).
- Water: Dense foliage can act like an umbrella, preventing rain or your careful watering from actually reaching the soil beneath all the plants. Uneven watering stresses plants and can sometimes contribute to moisture issues; ensuring good water penetration is key, much like having proper site drainage, which you can learn more about in this .
- Nutrients: Roots underground get just as tangled and competitive as the leaves above! Overcrowded roots fight for minerals and nutrients in the soil, meaning *everyone* gets a smaller share, leading to weaker, less vibrant plants overall. Healthy soil is the foundation, and while spacing helps plants access nutrients, don’t forget other soil care like .
Inviting Unwanted Guests: Pests and Diseases
Remember the “disease triangle”? For a plant disease to take hold, you need three things: a susceptible plant (the host), a disease-causing organism (like a fungus), and the right *environment*. Packing plants tightly creates the *perfect* humid, stagnant environment where fungal diseases like powdery mildew and rust feel right at home. This is especially true during our sometimes muggy Ottawa summers! Imagine trying to grow prize-winning roses in Greely only to have them succumb to black spot because the leaves never dried properly.
Good air circulation is crucial. It helps leaves dry quickly after rain or morning dew, stopping fungal spores from settling in and throwing a disease party. Dense plantings also provide fantastic hiding spots and easy pathways for pests like aphids and spider mites to move from plant to plant, undetected until you have a major infestation. Giving plants space makes them less appealing targets and easier to inspect. Keeping plants healthy from the start is always the best defense, as highlighted in this helpful . For more info on local gardening challenges, check resources from the Ottawa Horticultural Society.
Stunted Growth and Sad Roots
Just like you wouldn’t thrive living in a closet, plants need room to reach their full potential size and shape, both above and below ground. Crowded roots can become restricted, leading to stunted growth overall. You won’t get those big, beautiful blooms or lush foliage if the roots can’t spread out and support the plant properly. Think about how you aim for a full, healthy lawn using techniques like ; individual plants in your garden beds need similar consideration for space to achieve their best look.
So, next time you’re planting, resist the urge to pack everything in! Check the plant tags for their mature size and recommended spacing. Giving your green friends the personal space they need leads to healthier, more resilient, better-looking plants that are ultimately easier to care for. If planning the perfect spacing feels overwhelming, remember that professional Clean Yards Landscaping Services are always available to help design and plant your garden beds correctly from the start.
Know Your Plants, Know Your Space: Decoding Plant Tags & Needs
Okay, garden adventurers, let’s talk about becoming plant tag detectives! You know those little plastic tags that come with your new green friends? They’re not just price markers; they’re tiny instruction manuals, and probably the *most ignored* piece of gardening advice out there. But trust us, reading them is your secret weapon for avoiding that overcrowded look we talked about earlier.
Cracking the Code: What Plant Tags Tell You
The most crucial bits of info for spacing are usually listed as “Mature Size,” “Spread,” or “Spacing.”
- Mature Size/Spread: This tells you how *big* the plant is expected to get when it’s fully grown – both height and width. Ignore the cute little size it is in the pot *now*. Think future! That tiny hosta might eventually spread 3 feet wide.
- Spacing: This is the tag’s recommendation for how far apart to plant it from its neighbours, usually measured from the center of one plant to the center of the next. This number is based on the mature spread, ensuring plants have room to grow without overlapping too much.
So, if a tag says “Spread: 2 feet (60 cm)” and “Spacing: 2 feet (60 cm),” plant the *centers* of these plants 2 feet apart. Resist the temptation to plant closer for a ‘fuller’ look right away – you’ll regret it later when you need our garden clean-up services for overgrown beds!
Annuals
These plants complete their life cycle in one growing season. You can often plant them slightly closer than tag recommendations for a faster, fuller display, especially in containers or temporary borders (e.g., Petunias, Marigolds). Their roots won’t compete long-term.
Perennials
These plants live for multiple years, growing larger each season. It’s crucial to follow spacing guidelines (e.g., Hostas, Daylilies, Coneflowers) to allow for their mature size and prevent future overcrowding and competition. Give them room to shine year after year!
Shrubs and Trees
These are long-term landscape features. Pay close attention to their mature width and height. Planting too close can lead to poor shape, disease, and structural issues (foundation, fences). Accurate spacing is vital for their long-term health and your property’s safety. Planning a new garden installation often involves these larger elements.
Ottawa Soil Considerations
Here in the Ottawa region, from Nepean to Barrhaven, we often deal with heavier clay soil. Clay can sometimes restrict root growth compared to looser soils. This makes proper spacing even *more* important, ensuring roots don’t have to fight *each other* on top of fighting dense soil. Improving your soil structure is key. Using proper soil preparation techniques before planting can make a huge difference in how well your plants establish and utilize their given space. You can find helpful resources on soil testing and amendment from the Ontario Ministry of Agriculture, Food and Rural Affairs.
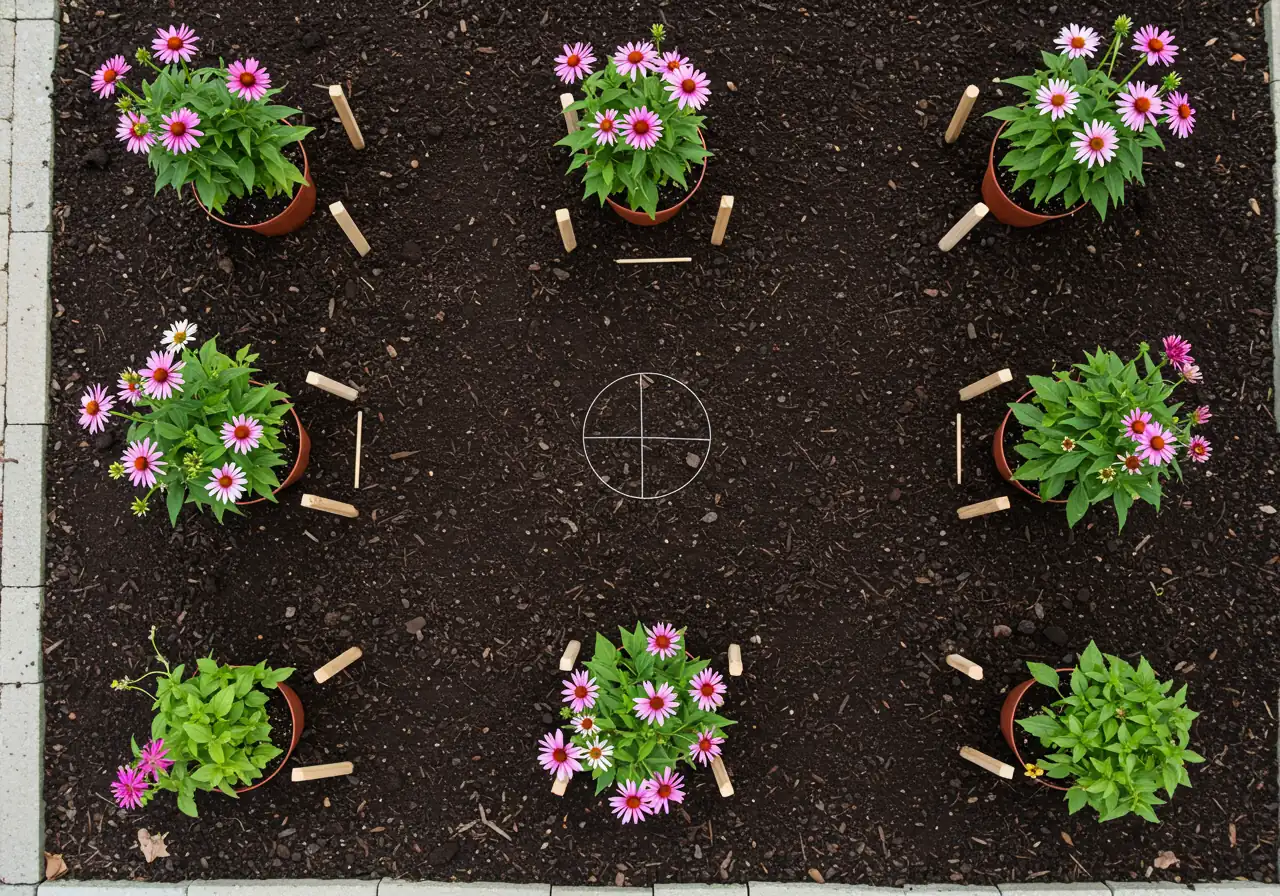
Visualize Before You Dig!
A super handy tip: Before you even break ground, place the plants (still in their pots) on the garden bed according to the recommended spacing. Step back and look. Does it seem too sparse? Remember how big they’ll get! This little preview helps you visualize the final layout and avoid costly mistakes. If planning feels daunting, remember that help is available through expert landscape design and planting services.
Quick Spacing Guide Table
Here’s a simple table for quick reference (always check specific variety tags!):
| Plant Type | Example | Typical Mature Spread | Recommended Spacing (Center-to-Center) |
|---|---|---|---|
| Perennial | Daylily (Stella De Oro) | 1.5-2 ft | 18-24 inches |
| Perennial | Peony | 2-3 ft | 3 feet |
| Perennial | Hosta (Large Variety) | 3-4 ft | 3-4 feet |
| Perennial | Coneflower (Echinacea) | 1.5-2 ft | 18-24 inches |
| Shrub | Cedar Hedge (Emerald) | 3-4 ft | 2.5-3 ft (for dense hedge) |
| Vegetable | Tomato (Determinate) | 2-3 ft | 2-3 feet (staking helps) |
| Annual | Impatiens | 1 ft | 8-12 inches |
Paying attention to these details sets your garden up for success. It reflects a thoughtful approach, much like how we operate. You can learn more about our approach at Clean Yards and see our commitment to transparency, right down to how we handle your information in our privacy policy. Happy planting!
The Nitty-Gritty: Practical Techniques for Perfect Spacing
Alright, let’s roll up our sleeves and get down to the nitty-gritty! Planning spacing is one thing, but actually getting those plants in the ground *correctly* is where the magic happens. Don’t worry, it’s easier than wrestling a stubborn garden hose, and way more rewarding!
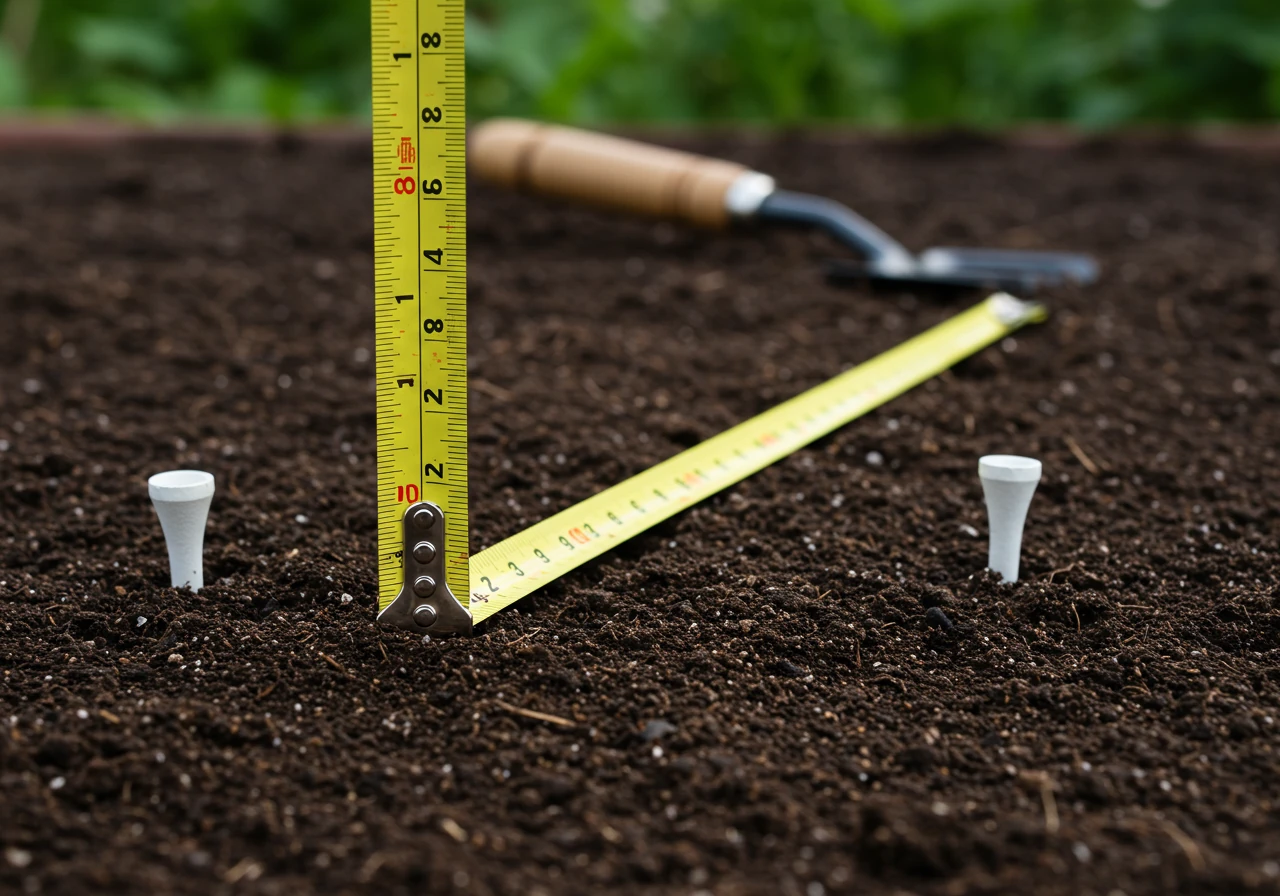
Measure Twice, Plant Once: Your Spacing Toolkit
Think of this as your garden geometry lesson, but way more fun. Grab your plant tags (you saved them, right?), a trusty tape measure (the kind that doesn’t retract like a startled snake), and some markers. Golf tees, small stakes, even plastic forks work great – anything to mark the spot!
Here’s the simple step-by-step:
- Check the Tag: Find that “Spacing” number. Let’s say it’s 18 inches.
- Place Plant One: Put your first plant (still in its pot) where you want it in the garden bed.
- Measure Out: Use your tape measure. Start from the *center* of that first pot and measure out 18 inches (or whatever your tag says).
- Mark the Spot: Place your marker (golf tee, stake, etc.) precisely at the 18-inch mark. That’s where the *center* of your next plant will go.
- Repeat: Place the second plant’s pot centered over the marker. Now measure from the center of *this* pot for the next one, and so on. Measuring accurately now prevents headaches later – you don’t want your garden looking like it needs a Marionville yard cleanup service intervention by July!
Choosing Your Garden’s Groove: Layout Styles
How you arrange the plants makes a big difference in the final look:
- Classic Rows: Great for veggie gardens or formal flower borders. Plants are lined up neatly. Just make sure you leave enough space *between* rows for walking and weeding!
- Grid/Block Planting: Placing plants in a grid pattern (think checkers). This fills space efficiently and creates a dense look once mature, often good for groundcovers.
- Staggered Rows (Offset): This is often the best for flower beds! Instead of lining plants up directly behind each other, you offset the second row so each plant sits in the gap between two plants in the row ahead. It looks more natural and fills in visually much faster.
- Naturalistic Drifts: Planting in groups or “drifts” of 3, 5, or more of the same plant, spaced correctly *within* the group, and allowing irregular shapes. This mimics how plants grow in nature and looks fantastic in informal gardens common around Ottawa areas like Metcalfe. If things get *too* naturalistic and overgrown, though, you might need a hand from a Metcalf garden clean up service.
Visualizing Density: Layout Impact
Chart illustrates relative perceived fullness initially vs. mature state (100%). Staggered/Grid often appear fuller sooner.
An Eco-Friendly Spacing Sidekick: Mulch!
Here’s a green tip: While proper spacing helps prevent weeds by allowing plants to fill in, *mulch* is your best friend. Applying a layer of organic mulch (like shredded bark or compost) after planting does wonders:
- It suppresses weeds in those open spaces while plants mature.
- It conserves soil moisture, reducing watering needs. Check local water conservation tips from resources like the Rideau Valley Conservation Authority.
- It improves the soil as it breaks down.
Bonus: It just makes the garden bed look finished and professional! Consider our mulching and edging services for a polished look. Remember, good garden practices are about working *with* nature. Following the plant tag guidelines is kind of like following the basic ‘rules of the road’, outlined much like our general site usage info found in the Terms and Conditions.
Spacing isn’t just about following rules; it’s about setting your plants up for success and creating a landscape you love. It’s a different kind of ground prep than needing tight, seamless coverage for sod installation for a seamless lawn, but just as crucial for the health of your garden beds. We believe in doing things right, whether it’s planting or protecting your info as detailed in our Clean Yards Privacy Policy. Now, go forth and measure!
Oops! Too Close? Thinning & Transplanting Tactics for Ottawa Gardeners
Okay, Ottawa gardeners, let’s face it. Sometimes our enthusiasm (or maybe just shaky hands) gets the better of us when sowing seeds. Suddenly, instead of neat little rows, you’ve got a tiny green jungle where seedlings are practically stacked on top of each other. Oops! Or perhaps those perennials you planted last year decided to *really* spread their wings, crowding out their neighbours. Don’t panic! This is where thinning and transplanting come to the rescue.

Thinning Seedlings: Giving Them Breathing Room
When you’ve sown seeds directly into your garden bed, and way too many sprout (go you!), you need to thin them out. It feels cruel, like choosing favourites, but it’s essential for the remaining plants’ health. Crowded seedlings compete fiercely for light, water, and nutrients, resulting in weak, spindly growth for *everyone*.
- When to Thin: Wait until the seedlings have developed their first set of *true leaves* (the ones that look like the actual plant, not the initial seed leaves). They’re usually sturdy enough by then.
- How to Thin (Gently!): Resist the urge to just yank extras out! This can disturb the delicate roots of the seedlings you want to keep. The best method? Use small, sharp scissors (like nail scissors) and snip the unwanted seedlings off right at the soil line. Goodbye, little buddy! This leaves the roots of the chosen ones undisturbed. Aim for the spacing recommended on the seed packet.
Transplanting Tactics: Moving Day for Plants
Sometimes you need to move plants that are already established but are just too close, or maybe you want to save some of those robust seedlings you thinned. Transplanting requires a bit of care, especially with Ottawa’s sometimes temperamental spring weather.
1. Choose the Right Time
Select a cool, overcast day or evening. Ensure frost risk has passed (late May in Ottawa). Avoid peak heat.
2. Prepare Plant & Hole
Water the plant well 1-2 hours before moving. Dig the new hole wider and as deep as the root ball *before* lifting the plant.
3. Dig & Lift Carefully
Dig widely around the plant to preserve as much root ball as possible. Support the root ball, avoid pulling the stem.
4. Replant & Settle
Place the plant in the new hole at the same depth. Backfill with soil, gently firming to remove air pockets.
5. Water & Monitor
Water thoroughly immediately after transplanting. Keep soil consistently moist for 1-2 weeks while it establishes.
- Timing is Key: Avoid transplanting in the heat of a sunny day. Choose a cool, overcast day or wait until the evening. In Ottawa, ensure the risk of hard frost has truly passed – usually late May – before moving tender plants. Our short growing season means we want to minimize transplant shock so plants can get established quickly.
- Prep Work: Water the plant thoroughly an hour or two *before* you plan to move it. This hydrates the roots and helps the soil cling together. Prepare the new hole *before* you dig up the plant, making it wider and just as deep as the root ball.
- The Move: Dig widely around the plant to get as much of the root ball as possible. Gently lift it out, supporting the root ball. Try not to handle the plant by the stem. Place it in the new hole at the same depth it was previously growing. Backfill the hole with soil, gently firming it around the roots to remove air pockets.
- Aftercare: Water the transplant well immediately after planting. Keep the soil consistently moist (but not waterlogged) for the next week or two while it settles in. Regular upkeep helps transplants thrive, forming a key part of professional garden maintenance services. If a transplant doesn’t take, or the process leaves things looking messy, remember that help is available for tidying up, whether it’s a specific bed needing a Metcalf garden clean up service for local residents or a more extensive Ottawa yard cleanup service. We also offer services in nearby areas like Marionville garden cleanup and Ottawa garden cleanup.
Share the Bounty!
Got way too many healthy seedlings even after thinning? Or perhaps a perennial division yielded more plants than you have space for? Don’t just toss them! Share the green love with neighbours or friends. Gardeners in communities like Russell and Metcalfe often have informal plant swaps. It’s a fantastic way to diversify your garden and connect with fellow plant enthusiasts, maybe even find someone interested in our landscape transformations. If transplanting involves larger shrubs or rearranging significant parts of your yard, it might become part of a bigger project best handled by an Ottawa property cleanup service or even a more general property cleanup.
Feeling unsure about thinning or transplanting? Don’t hesitate to reach out – you can always contact us for expert gardening advice tailored to your Ottawa garden needs. You can also check our Google Business Profile for reviews and updates.
Beyond the Plants: Spacing for Easy Access, Airflow & Happy Harvesting
So, we’ve talked about giving your plants enough room to avoid playing bumper cars, but proper spacing in landscaping is about more than just preventing botanical brawls. Think about the *space between* the plants and even around your entire garden bed. It’s like arranging furniture in a room – you need clear paths to walk, space to open drawers, and airflow so things don’t get stuffy!
Let the Breeze Blow Through
Good air circulation is like a gentle, constant sigh of relief for your garden, especially during Ottawa’s humid summers. When plants are crammed together, the air gets trapped. Leaves stay damp longer after rain or morning dew, creating a five-star resort for fungal diseases like powdery mildew and black spot. *Spacing allows air to move freely*, drying foliage faster and making it much harder for these unwelcome guests to set up shop. Proper airflow is one of your best, most natural defenses against common garden diseases. You’ll spend less time troubleshooting sickly plants and more time enjoying your beautiful garden. For general city gardening advice, the City of Ottawa’s gardening page can be a useful resource.
Your Back Will Thank You: Easy Access is Key
Ever tried weeding deep inside a densely packed flower bed? It’s an acrobatic feat worthy of Cirque du Soleil, often ending with footprints on delicate neighbouring plants. Planning for access from the start makes *all* garden maintenance tasks easier:
- Weeding: You can actually *reach* those pesky intruders without trampling your prized perennials.
- Watering: Direct water to the base of plants where it’s needed most, instead of just wetting the dense canopy.
- Pest Patrol: Spotting aphids or spider mites early is crucial. Good spacing lets you easily inspect leaves (top and bottom!) and deal with problems before they explode, which can be a real issue in areas from Osgoode to Winchester if left unchecked.
- Deadheading & Pruning: Keeping plants tidy and encouraging more blooms is simpler when you can get *to* them.
If accessing your garden beds currently feels like navigating an obstacle course, it might be a sign that rethinking the layout is needed – or perhaps even calling in help to avoid needing an intensive Marionville property cleanup service or Metcalf property cleanup service down the road. Defining clear walkways or leaving intentional gaps, perhaps enhanced by professional mulching and edging services, creates structure and makes maintenance a breeze.
Happy Harvesting Adventures
For those growing veggies or cut flowers, easy access is non-negotiable! Imagine trying to harvest ripe tomatoes or delicate zucchini blossoms hidden deep within a tangled jungle. Good spacing means you can easily reach your bounty without stepping on nearby plants or damaging ripening fruit. It makes the whole process more enjoyable and productive – the satisfying reward for your planning and care. You can truly witness stunning garden transformations when plants are healthy *and* accessible.
Thinking about spacing in these broader terms – airflow, access, harvest – helps create a garden that not only looks great but *works* great too. It’s about planning for the whole lifecycle of your garden. We believe clear planning leads to happy clients – you can see what our clients say about our planning process to understand our approach.
Key Insights: Your Quick Spacing Cheat Sheet
Feeling a bit overwhelmed by all the spacing talk? No worries! Here’s the super-quick rundown to keep your plants happy and your garden looking sharp, whether you’re in Barrhaven or anywhere across Ottawa.
- Read the Tag, Really! It’s not just a price tag. Look for the *mature size* (width!) and recommended *spacing*. This is your #1 guide.
- Measure Twice, Plant Once: Use a tape measure from the *center* of one plant to the *center* of the next. Being precise now prevents needing an intensive Marionville property cleanup service later for jungle-like overgrowth.
- Give ‘Em Air! Good spacing = better airflow = fewer fungal diseases. Your plants can breathe easy, even in humid summers.
- Easy Access Lanes: Think about *your* path! Space plants so you can easily weed, water, and admire without trampling things. Smart new garden installation always factors this in.
- Mulch is Your Friend: Apply mulch after planting to keep weeds down in the open spaces while your plants grow into them. Remember, choosing the right materials, like good mulch, makes a difference.
- Healthy Garden Ecosystem: Proper spacing works hand-in-hand with other good practices, like adequate watering and even professional lawn care, to create a thriving, beautiful outdoor space.
Ottawa Garden Spacing FAQs: Your Questions Answered!
Okay, let’s tackle some of those head-scratching questions about giving your plants the right amount of personal space right here in the Ottawa area!
Our soil in Nepean is mostly heavy clay. Does this change how far apart I should space my plants?
That’s a sharp question! Clay soil *can* make it harder for roots to spread out. While you should always start with the plant tag’s spacing guide, giving plants *slightly* more room than recommended in heavy clay isn’t a bad idea. Think of it as extra elbow room for the roots! Also, mixing compost into the planting hole helps break up the clay. If your beds are already packed too tight in clay, getting a Metcalf yard cleanup service to help thin things out might be beneficial.
With Ottawa’s shorter growing season, shouldn’t I plant closer together to make the garden look full faster?
Oh, the temptation is real, especially when we want that instant “wow” factor! For annuals, you can often plant a *bit* closer for quick fill. But for perennials and shrubs that come back year after year, stick to the recommended spacing. They need that room to reach their mature size without fighting neighbours for sun and air, which prevents disease. You’ll be glad you gave them space in the long run! Thanks for this common query – we appreciate questions that help everyone garden smarter, just like we appreciate feedback via our Clean Yards Thank You page.
How far should I plant shrubs or small trees from my house foundation or that fence line in Barrhaven?
Great forward-thinking! Always consider the plant’s *mature width*, not its size now. As a general rule, plant shrubs at least half their mature width away from a foundation (e.g., a shrub growing 6 feet wide needs 3 feet of space). This prevents moisture issues against the house and gives you access. For fences, allow enough room so mature branches don’t cause damage or create boundary issues. Need help planning this precisely? You can always book an estimate for landscaping advice tailored to your yard.
I buy lots of different plants! How can I possibly remember the spacing needs for everything when planting time comes?
It’s like trying to remember everyone’s coffee order, right? Snap photos of plant tags with your phone! Or, keep a simple garden journal or spreadsheet listing the plant name, its mature size, and spacing needs. If you’re a regular client, important details about your specific plants and garden layout can sometimes be tracked for future reference via your dedicated Clean Yards Customer Portal login, making ongoing care seamless.
My garden bed in Greely looks so bare when I place potted plants using the recommended spacing. How do I trust it will fill in?
It definitely takes a leap of faith! Remember those tags show *mature* size. Use the pot-placement trick, then step back. Try using garden stakes or even drawing circles in the soil with flour to mark the *future* spread of each plant. This helps visualize how they’ll grow together. Filling gaps temporarily with mulch or faster-growing annuals can also help ease the visual emptiness while your main plants establish. Patience now pays off later!
Conclusion: Give Your Garden Room to Breathe & Thrive!
Well folks, we’ve dug deep into the world of plant spacing! Hopefully, you’re now seeing that giving your green pals some breathing room isn’t just about looking tidy – it’s the secret sauce for a truly thriving garden. Think of it less like social distancing and more like giving everyone a comfy armchair instead of cramming them onto one tiny sofa. Proper spacing is your ticket to:
- Healthier, more robust plants that fight off pests and diseases naturally.
- Easier weeding, watering, and harvesting (less jungle-trekking for you!).
- A more beautiful, balanced landscape where every plant gets its moment in the sun.
Whether you’re planting new annuals in Embrun, planning a perennial border near Kars, or rethinking a shrub layout in Vernon or Kenmore, applying these spacing principles *now* will save you headaches later. Don’t wait until your hostas are staging a hostile takeover – give your Ottawa garden the gift of space!
Feeling inspired but maybe a bit unsure about tackling it yourself? No sweat! If transforming an overcrowded bed or planning a perfectly spaced new garden feels like a puzzle, *we’re here to lend a hand*. Our expert team can help with everything from *Garden Design & Planting* to *Garden Maintenance & Cleanup*. Ready to create a garden that breathes easy and looks fantastic? *Contact Clean Yards today* for friendly advice or to book your free estimate! Let’s get your garden thriving.
